As you could have read in a previous article, we sawed a hole in our roof. In order to meet the interior design requirements of a camper van from the Tax Authorities, we have to partially raise the roof of our Brumm bus. We thought this was an exciting step in the process and we can imagine that you are curious about how we did this. In this article we will take you through this step of our conversion project.
Also read: How to: Buy or convert a campervan
A hole in our roof
Because the tax authorities require that the roof has a height of at least 170 cm, a length of at least 100 cm and a width of at least 90 cm, we decided to raise about half of the roof Brumm. After measuring the correct distances, we started sawing a hole in the roof.
Also read:
Converting a fire van into a camper (1) | The Backpack Pick
Converting a fire van into a camper (2) | Buy a suitable bus
Converting a fire van into a camper (3) | RDW design requirements and job plan
Converting a fire van into a camper (4) | A new floor
Converting a fire van into a camper (5) | Insulating the bus
Converting a fire van into a motorhome (6) | Raising the roof
Converting a fire van into a camper (7) | Installing walls, vinyl and windows
Converting a fire van into a camper (8) | Arranging and installing furniture
During the sawing we discovered that there was an extra construction of steel on the roof. We have removed part of this construction and used the remainder to attach our extension. The part we were able to remove was quite heavy, so we were happy to remove it. This makes Brumm a bit lighter and that is important for the weighing moment at the RDW. We both have our B driving license, which is why Brumm may not weigh more than 3500 kilos. So the heavier Brumm is, the less luggage we can take with us. During the entire conversion project, we are therefore very aware of the weight that we remove and add to the bus.
First a wooden frame
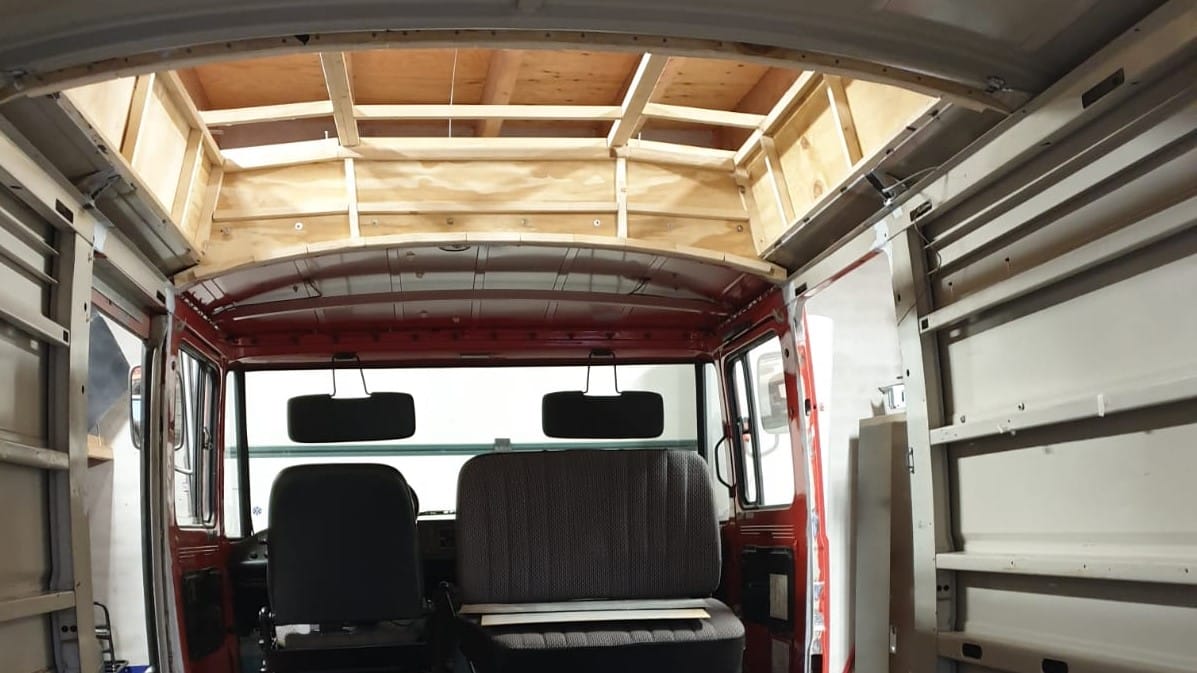
After the hole in the roof was to our liking, we started building a wooden frame. This is the basis of the extension and ensures that the roof remains sturdy. We insulated this frame with polystyrene foam on the outside as well as the inside.
Because we want to have a window in the roof, we also started looking for a nice skylight around this time. It was important that we already had these because of course we had to take the dimensions of this window into account.
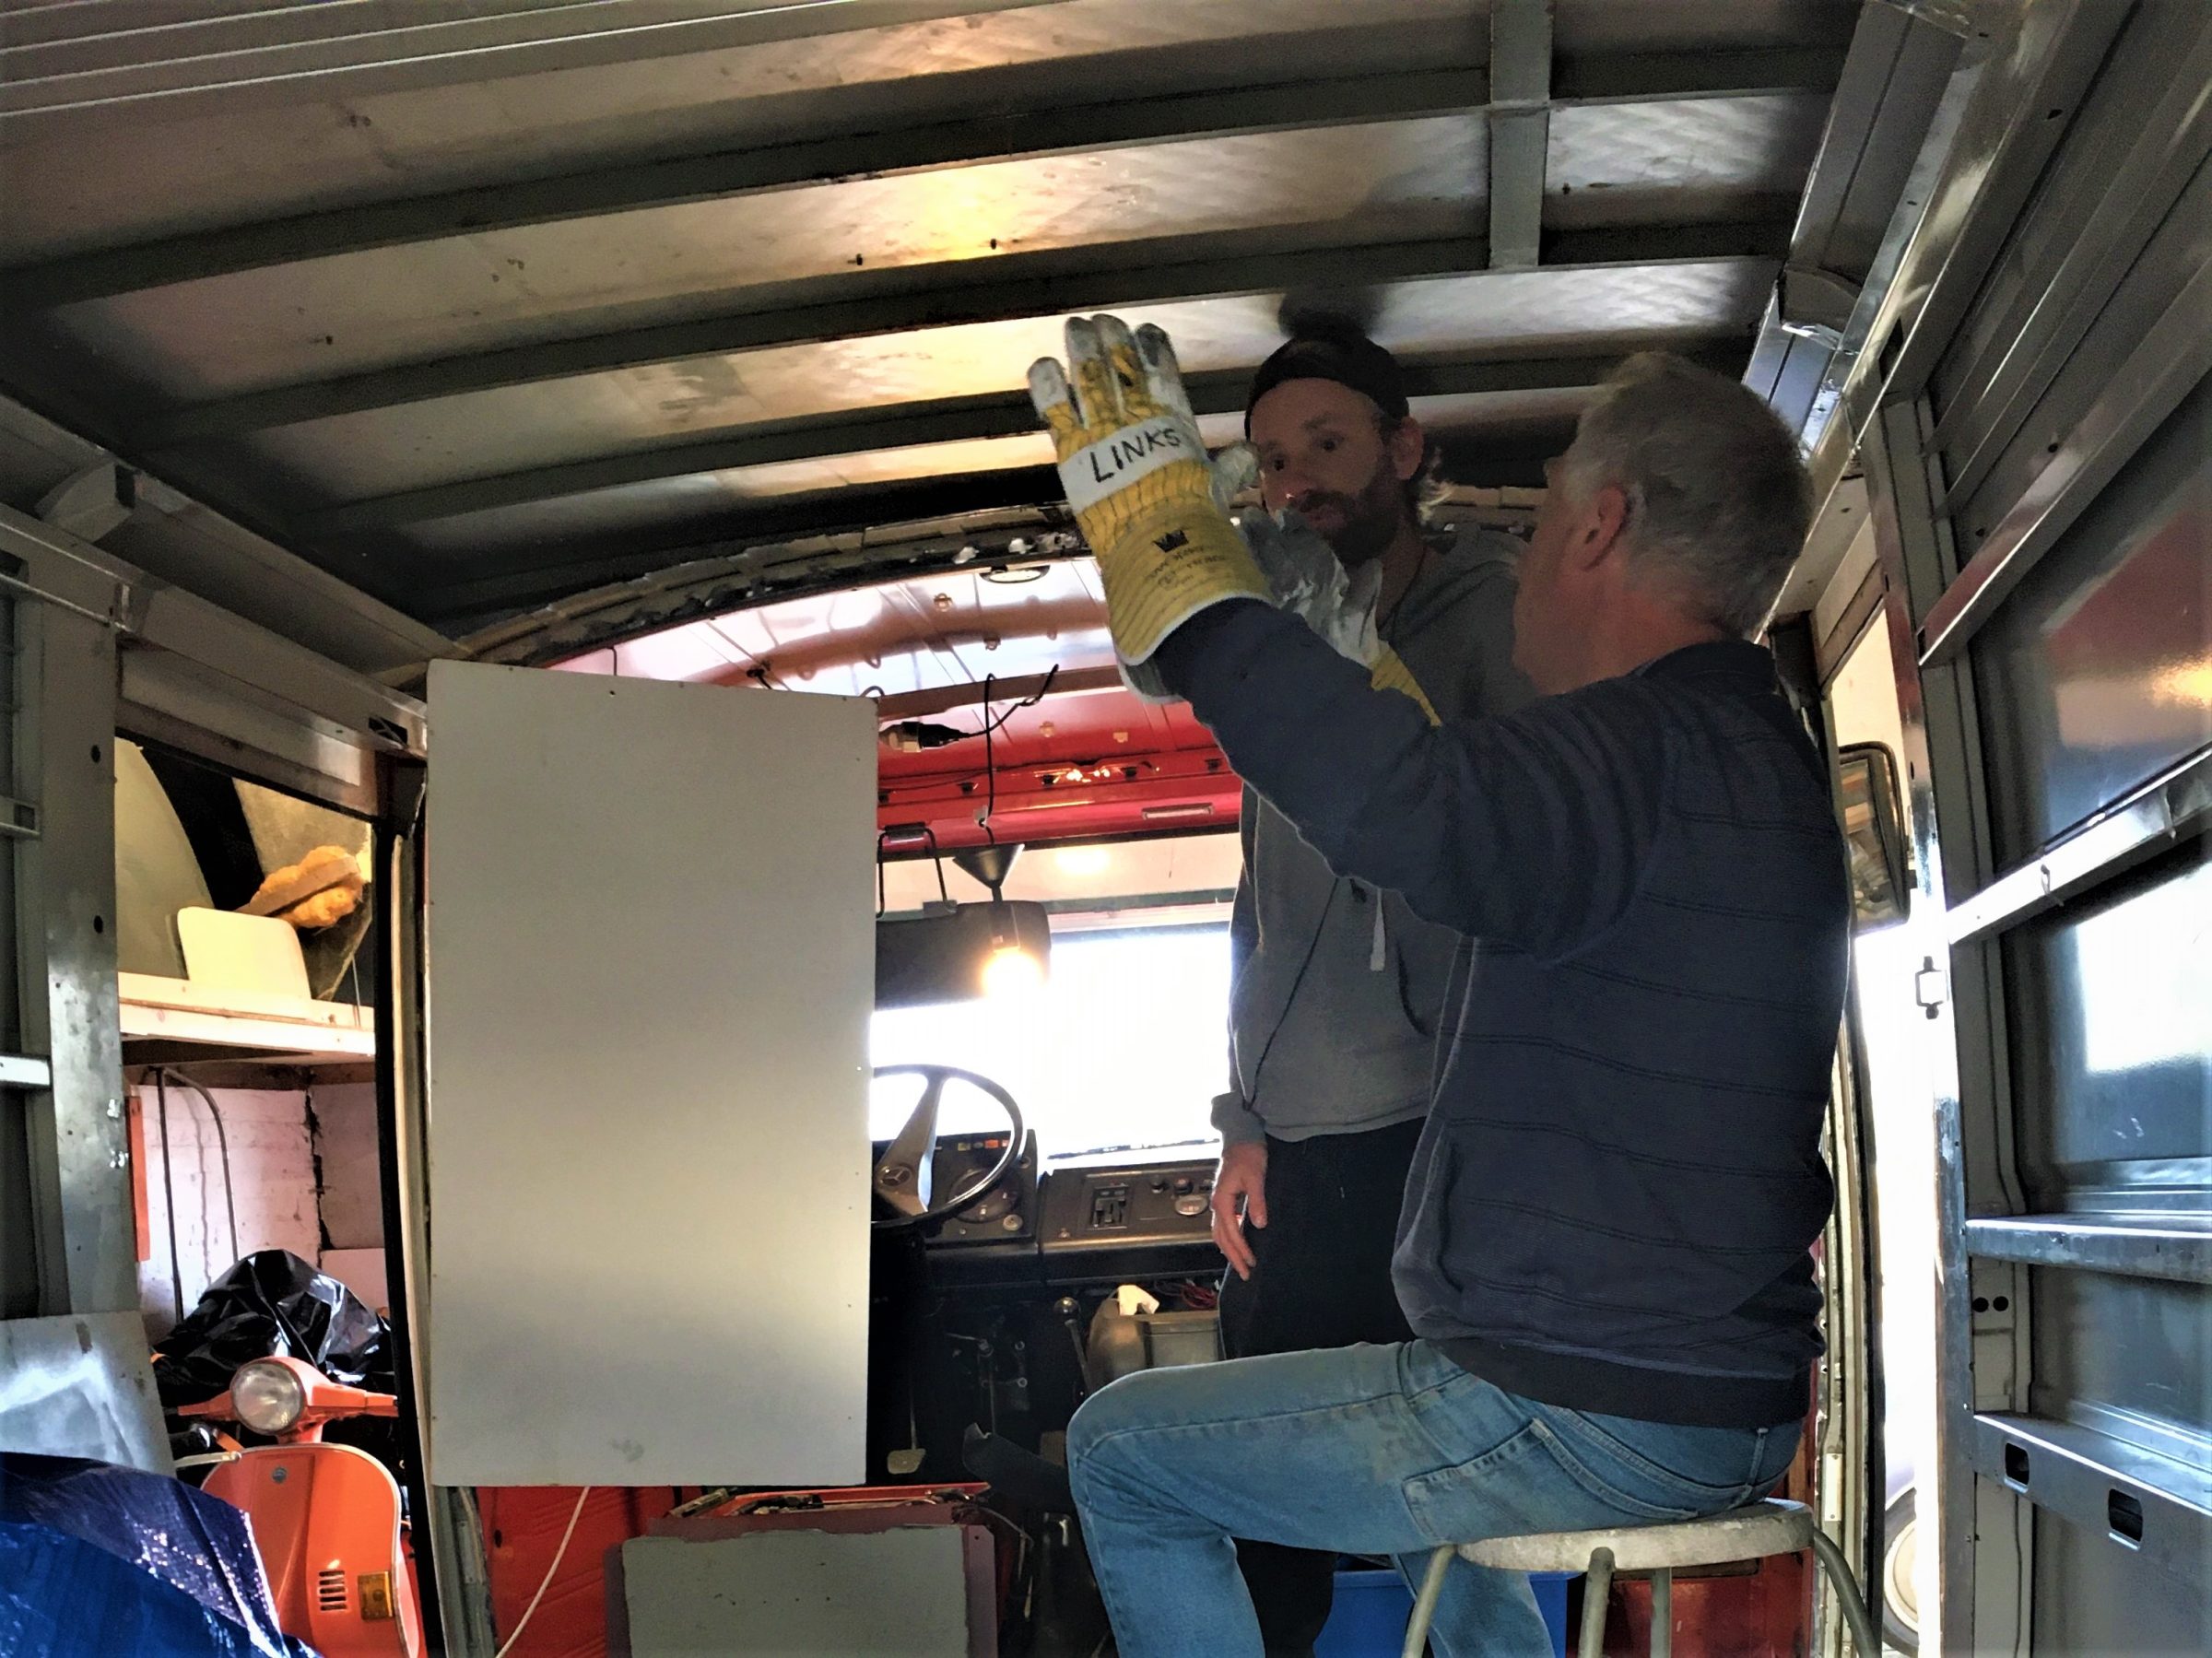
Aluminum roof
When the wooden frame was completely finished, we covered it with aluminum. We got a big roll at a camping store. We have previously used this material for our floor and now also for the roof. Onno (Denise's father) has worked with aluminum before. It's light, waterproof and easy to use, so the choice was easy. We cut the aluminum to size, because sawing was not possible, and then we rolled it over the wooden construction and glued it, as it were. We used special glue for this; Sabapur 2 component PU glue. This adhesive is suitable for vehicle and bodywork construction.
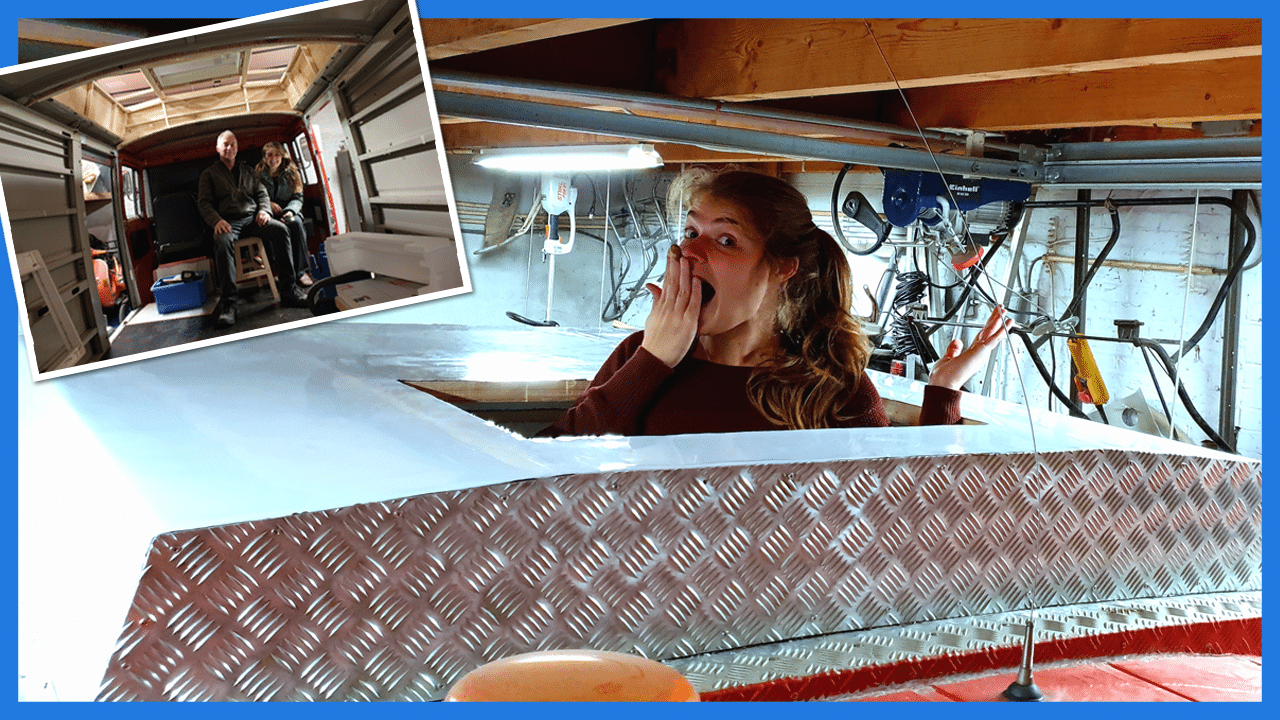
After gluing we put heavy stuff on the roof to make sure the glue could do its job as well as possible and of course also to test whether the roof would be strong enough. Fortunately this is the case because Merry could even lie on it!
We reused material from Brumm for the edges of the extension. We first bent the aluminum over the edge of the casing and attached checker plate over it. This way the extension also looks worthy of a fire brigade bus on the outside! All edges and cracks of the extension are, of course, well sealed with various types of sealant and glue. A lot of tubes have gone through!
Insulate the roof
Just like the outside, we have provided the inside of the extension with polystyrene foam for insulation. Because the wooden frame consisted of all small boxes, it was like a puzzle to attach the styrofoam. These compartments are eventually neatly closed with a nice piece of wood, but at the time of writing this article it is not yet convenient to completely close the roof. We want to run some wiring behind the construction and we are not ready for that yet. As soon as we are completely ready and the end result of the roof is visible, we will of course share the result with you. Here, but also via our website and socials.
We hope this information is of some use to you. If not, don't hesitate to ask!
Also read:
Converting a fire van into a camper (1) | The Backpack Pick
Converting a fire van into a camper (2) | Buy a suitable bus
Converting a fire van into a camper (3) | RDW design requirements and job plan
Converting a fire van into a camper (4) | A new floor
Converting a fire van into a camper (5) | Insulating the bus
Converting a fire van into a motorhome (6) | Raising the roof
Converting a fire van into a camper (7) | Installing walls, vinyl and windows
Converting a fire van into a camper (8) | Arranging and installing furniture