Furnishing and installing furniture, the Brumm fire brigade bus is now really taking shape! And while I'm typing part 8 of the camper conversion, I'm lying on the couch under a rug. It's windy and it's raining; autumn is coming. The latest article (about installing walls, vinyl and windows) I wrote when the summer was still ahead of us and we were preparing the Brumm fire brigade for its first real holiday. Time flies!
Also read:
Converting a fire van into a camper (1) | The Backpack Pick
Converting a fire van into a camper (2) | Buy a suitable bus
Converting a fire van into a camper (3) | RDW design requirements and job plan
Converting a fire van into a camper (4) | A new floor
Converting a fire van into a camper (5) | Insulating the bus
Converting a fire van into a motorhome (6) | Raising the roof
Converting a fire van into a camper (7) | Installing walls, vinyl and windows
Converting a fire van into a camper (8) | Arranging and installing furniture
Fire bus Brumm is ready for vacation
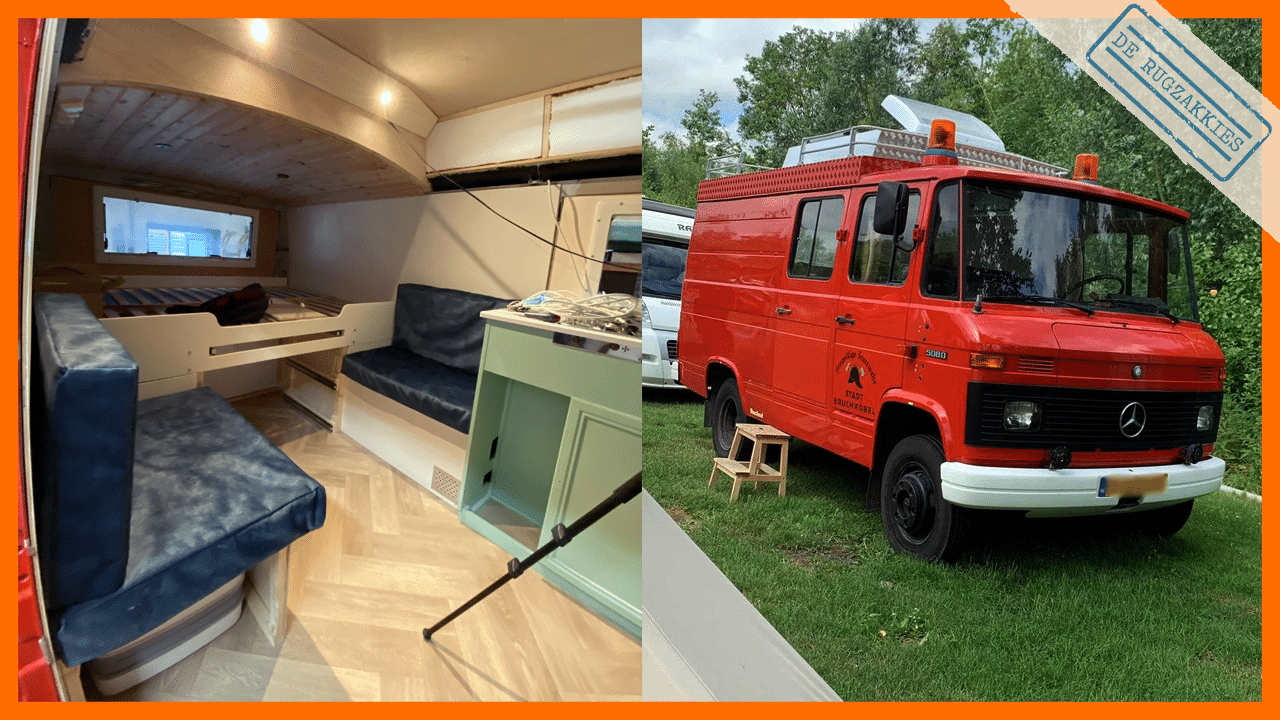
Brumm has been finished for some time now. We have been away almost every weekend in the summer and also three weeks on summer vacation. That was crazy and busy at the same time, so making videos and writing stories was a huge lag. But we're getting back on track! In the last article we wrote about placing the walls and the floor and in this part we will build in the furniture and make choices for the interior.
Determining the layout of the furniture
Before we started this big project, we had already thought about how we would like to organize Brumm. That makes a huge difference, because that was the starting point when making and installing the furniture. We have the program for this SketchUp used, it takes a while to find out how it works exactly, but you can work with it very accurately. To determine how we would organize the fire brigade bus, we looked closely at the use of the space. Brumm is of course not that big, so it is necessary to divide the space as efficiently as possible. It would of course be a shame to waste space.
Specific wishes for the installation
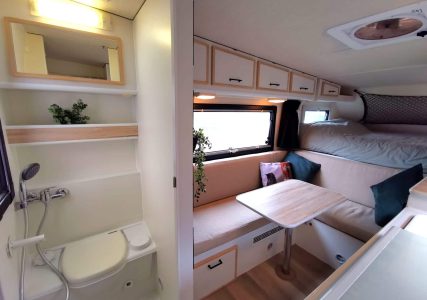
We also had a few wishes. For example, we wanted a cool box and a toilet in Brumm, a fixed bed that is not so narrow, sufficient seating and work space and the co-driver's bench should be able to turn. In addition, storage space is of course important. But did we want tall cabinets? Low cabinets? And how deep should they be? These were all choices that not only had to be made on the basis of our wishes, but we also had to look at the possibilities that are available with the space we have.
During the installation of the furniture you will of course find out that not everything goes quite as you have in mind. And not everything you want will work, but actually the installation went fairly smoothly and we didn't have to make many concessions.
Challenges while installing the furniture
The biggest challenge during the installation of the furniture was the curve of the fire truck. Brumm does not have straight walls. These are a bit convex and therefore everything, but also everything, had to be made to measure. That is why we first made and assembled all the separate parts so that everything would fit properly. Then we painted all these parts and then we mounted and fastened them. Of course it would be nice if you know during installation which parts belong together and what needs to be placed where…
Once the furniture was built in, the next challenge came. Earlier we wrote about the shutters† We halved these so that we could install windows and keep the shutters. As a result, we have a piece of storage space behind the roller shutters, which you can use from outside. This is the case at the back of Brumm, under the bed, as well as on the side. On that side we made the kitchen. This means that both the gas pipe and the water pipe must have a place there. That was no problem, but the fact that the roller shutter rolls under the kitchen worktop when the roller shutter opens means that we couldn't mount the pipes in a straight line downwards. We had to lay these in a detour. In the video you can see how we solved this.
Start with the furnishing
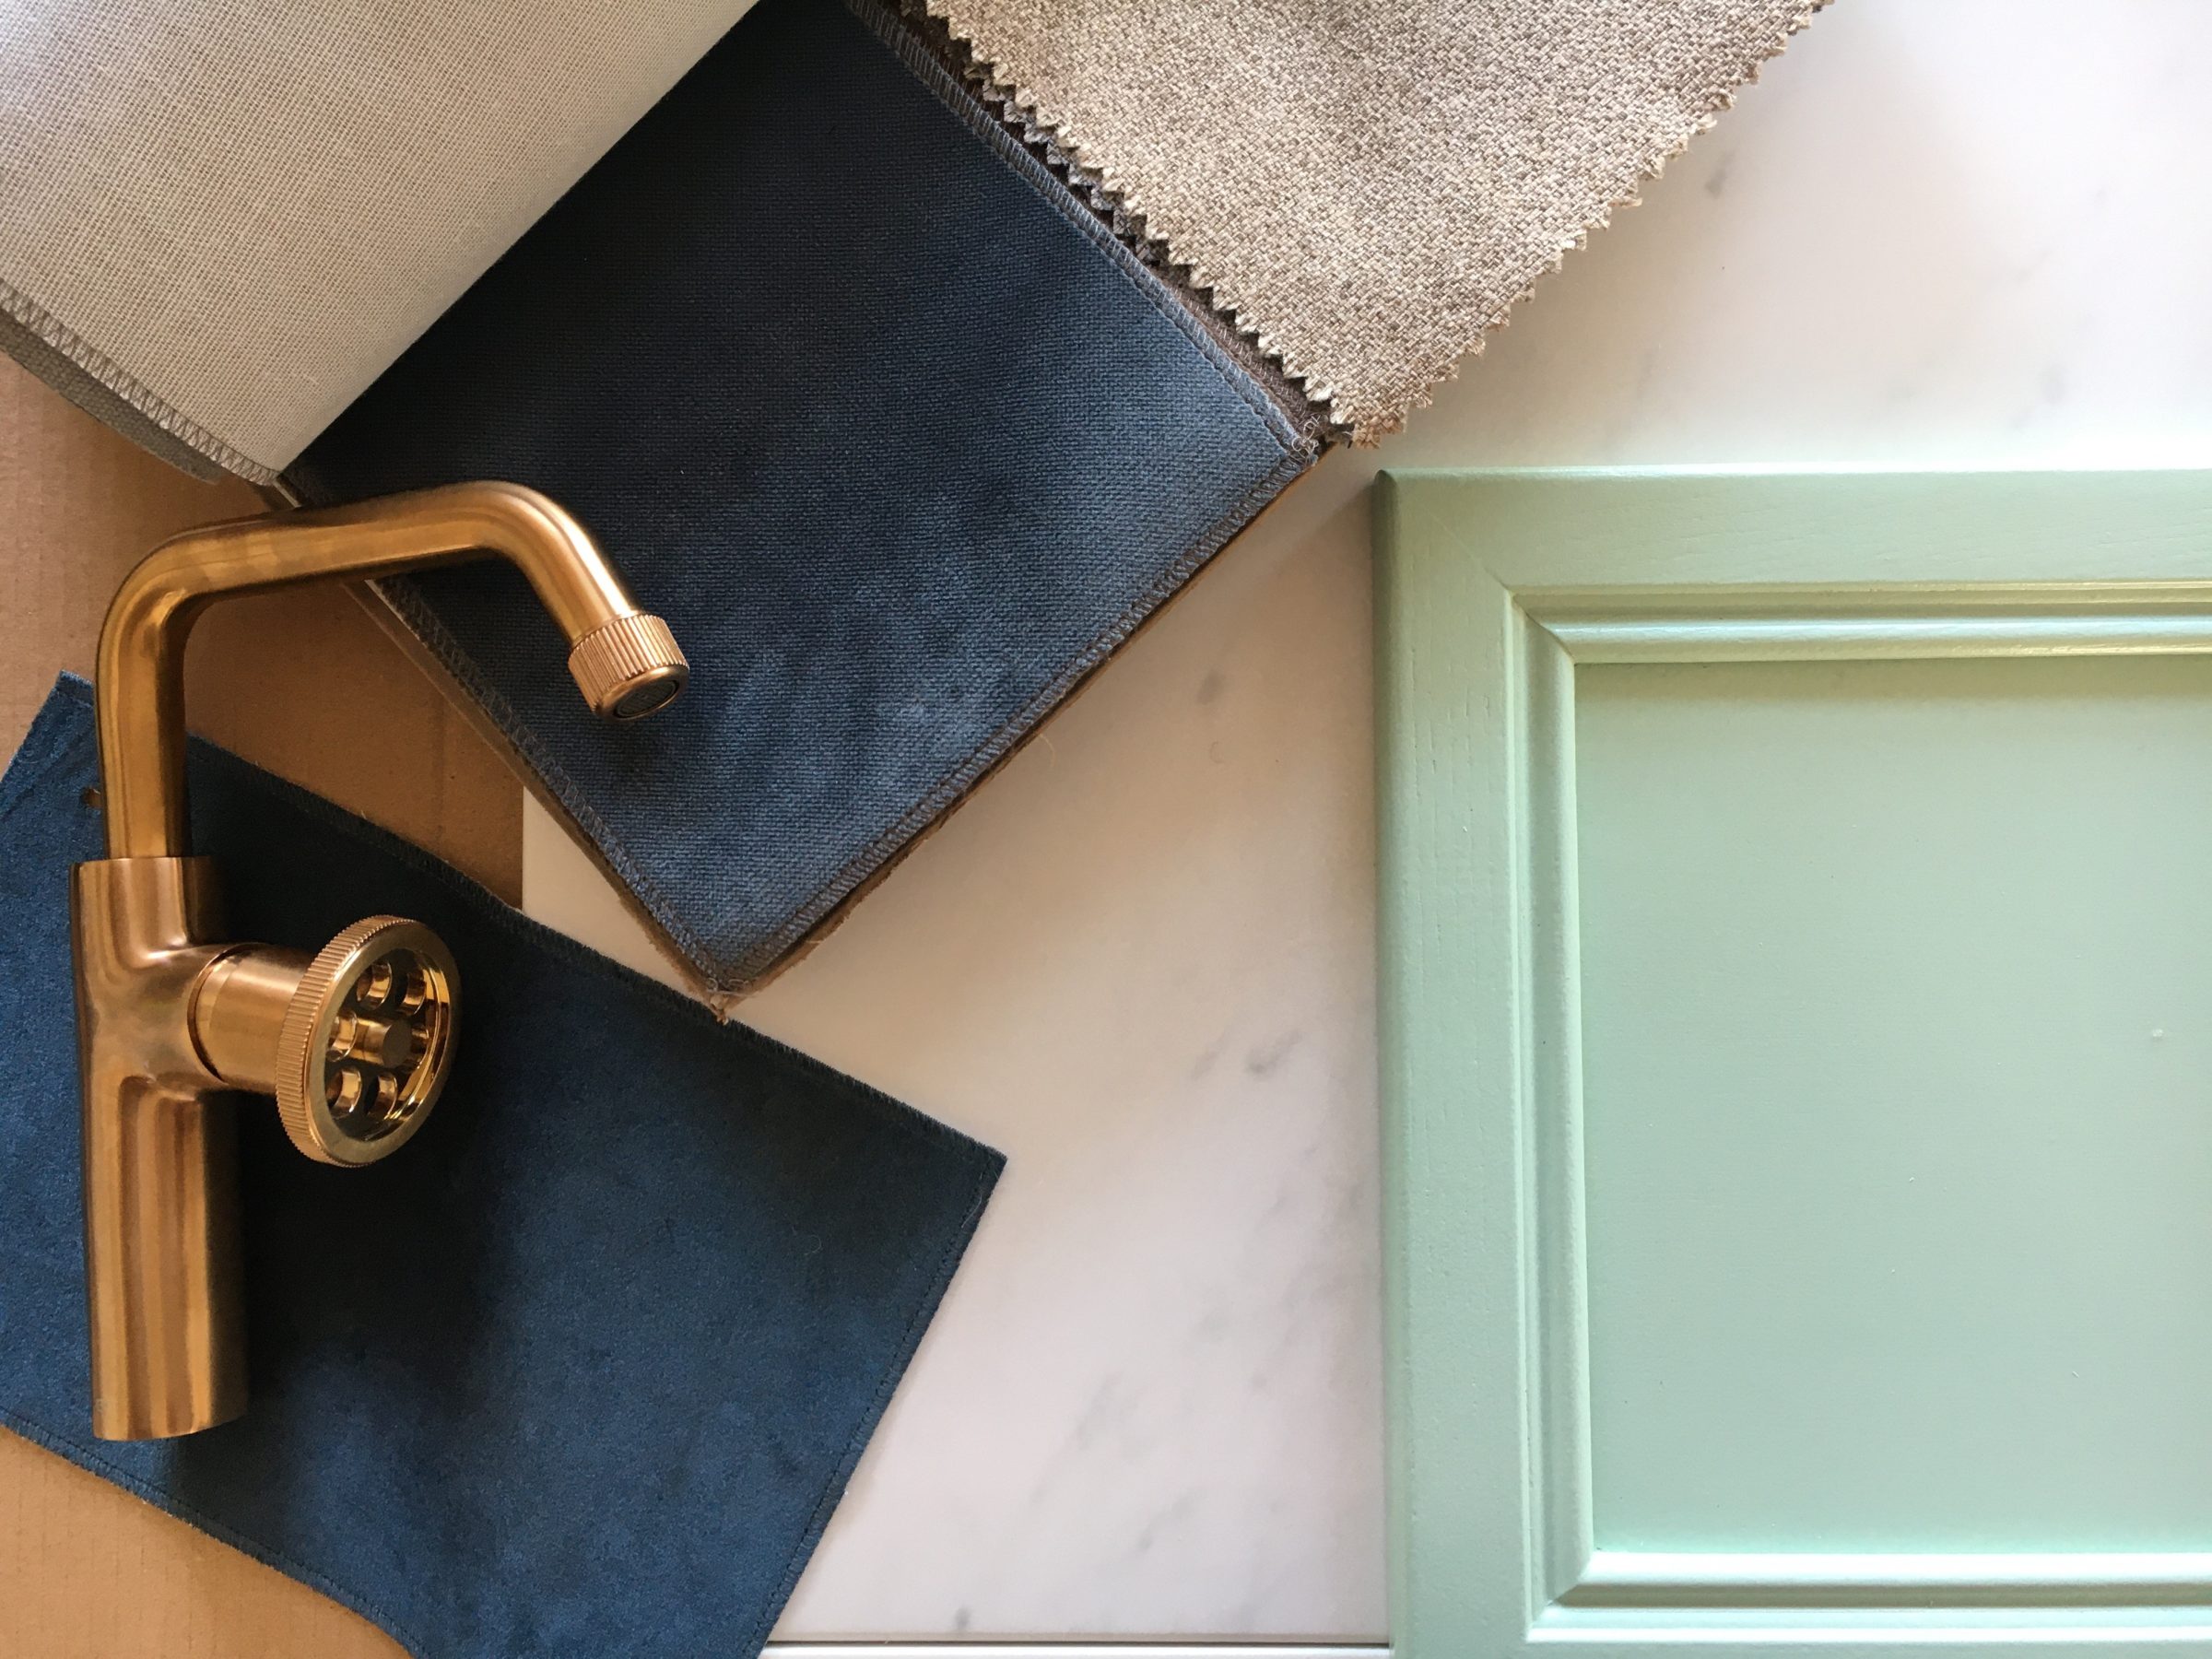
Speaking of the kitchen, it had to be Brumm's eye-catcher. Because Merijn wanted to keep the walls of Brumm light, Denise naturally negotiated that the kitchen would be given a spicy color. And he got it! After much deliberation, endlessly placing color samples next to each other and some discussion, the color was finally there. Under the guise of 'if we don't like it, we'll paint it over again' it became Jade green from Flexa, which comes down to a fresh pastel shade. We combined this with blue and gold/copper details. We created a fresh look with a slightly chic wink with the herringbone floor and the marble kitchen top.
Not everything we were looking for was immediately available. For example, we couldn't find suitable door knobs for the cabinets, so we decided to make these ourselves by buying fire hydrants and spraying them gold ourselves. A little creativity goes a long way!
The end result follows
The end result is not yet fully visible in the video, but we will show more and more of this in the following videos. We will continue to sew cushion covers and make curtains. So to be continued!
But first we go to the RDW for the motorhome inspection! You can read all about that in the next blog.
Also read:
Converting a fire van into a camper (1) | The Backpack Pick
Converting a fire van into a camper (2) | Buy a suitable bus
Converting a fire van into a camper (3) | RDW design requirements and job plan
Converting a fire van into a camper (4) | A new floor
Converting a fire van into a camper (5) | Insulating the bus
Converting a fire van into a motorhome (6) | Raising the roof
Converting a fire van into a camper (7) | Installing walls, vinyl and windows
Converting a fire van into a camper (8) | Arranging and installing furniture