Do you like to travel and do you have a passion for photography, but do you still find it difficult to take good photos during your travels? Or do you always shoot in automatic mode, do your photos not stand out and would you like to improve your skills? Discover our ultimate travel photo tips that will take your travel photos to the next level, whether with a system camera, drone or GoPro Dome is. Learn how to create unique images that capture the essence of any destination. Whether you're a passionate photographer or just looking for ways to take your vacation snaps to a professional level, these best practices will help you get the most out of your travel photos.
Basic knowledge of (travel) photography
Whether you want to learn how to shoot better with a compact camera, SLR or mirrorless camera, GoPro or drone, you will first have to master the basics. Learn to understand your camera; what exactly happens when taking a photo? How do shutter speed, aperture and iso work? You can use this knowledge while shooting. Below is a brief explanation of the terms, including an example.
Shutter speed
Shutter speed is basically how long your camera keeps its "eye" open when you take a picture. It has everything to do with how much light hits the sensor and what effect that has on your photos. Shutter speed is very important in travel photography.
Example: Imagine you're on safari in Africa and you're looking for that perfect shot of a lion in action. Now shutter speed comes into play. If you use a fast shutter speed, say 1/1000 second, you freeze the lion in all its glory. Every muscle, the frown of his brow, everything is captured in sharp focus. The result is a photo that perfectly captures the power and intensity of that moment.
If you use a slightly longer shutter speed, such as 1/30 second, you get a completely different image. As the lion moves, its paws and mane blur a bit, lending a sense of dynamism and speed to the photo. By playing with shutter speed you can capture travel moments in different ways.
Diaphragm
Aperture has to do with the opening in your lens, which can be made larger or smaller. It determines how much light passes through the lens and how much depth of field the photo has.
Example: Let's stay in the safari mood. Imagine you want to make a close-up of a giraffe on the savannah. If you have a large aperture, for example f/2.8, the background will be nicely blurred and the giraffe will really stand out. It creates that classic “bokeh” effect where the background is blurred and the focus is completely on the subject.
But what if you want to sharpen the entire environment around it, from the giraffe to the distant trees? Then choose a small aperture, such as f/16. This increases the depth of field and gives you a photo in which both the giraffe and the background are completely sharp. With diaphragm you learn to focus on what you find important.
ISO value
ISO refers to the sensitivity of your camera sensor to light. The higher the ISO value, the more sensitive the sensor becomes to light and vice versa.
Example: Imagine you want to take a picture of a leopard prowling through the undergrowth at dusk. In such a situation you don't have much natural light. You can then increase the ISO value (for example to 1600) to capture more light. This makes the photo brighter, even in low-light conditions. Please note, because a higher ISO value also produces noise. These are those small grains or spots that make the photo less sharp. Find a balance between enough light and minimizing noise. A lower ISO value (100) is often better, you get a "clean", clear photo.
Travel photography: good preparation
Travel photography is all about capturing the beauty, culture and unique moments of your trip. Good preparation is very important. What should you think about before you go armed with your camera, Gopro dome or drone? From researching your destination and planning your shots, to carefully selecting your gear and protecting it, we've got our top tips to help you be well prepared.
Also read: Why you should NOT take pictures with your smartphone during a world trip
A clean lens
It sometimes sounds so simple and logical, but this is often forgotten. It's a shame if you look back at your travel photos and there's a haze or stain on them. Clean your lens well beforehand, bring lens wipes and use them regularly. If you do not use the camera for a while, cover the lens with a lens cap or cover.
A full battery
Another nitpick, but we can no longer count on one hand the times when we were left with an (almost) empty battery or accumulator. So ALWAYS check before you start shooting whether your battery is full and preferably take spare batteries with you.
Sufficient memory
If you shoot in RAW, this takes up a lot of data = space. Avoid erasing photos on the spot to free up more memory. We speak from experience. This is not a nice situation and quite time consuming. If you do check your battery, look directly at the memory. Most cameras indicate approximately how many photos you can still take. Choose an SD card with a lot of memory, such as 64 GB, 128 GB, 256 GB, so that you can shoot for longer. Also take one or more extra memory cards with you just to be on the safe side.
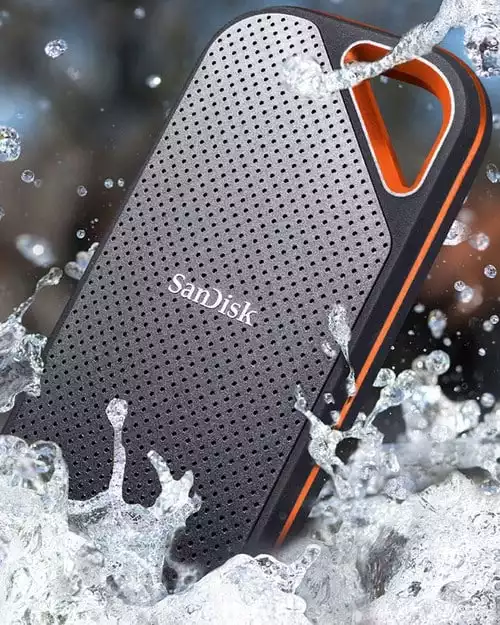
The long wait and hours of making Backups, fortunately is now really a thing of the past. The new SanDisk Extreme Pro Portable SSDs, as they are called in full, are so fast and good that they will exceed all your expectations.
- Best tested SSD
- Extremely compact
- Solid
- Super fast
- 10 year warranty
A stable camera
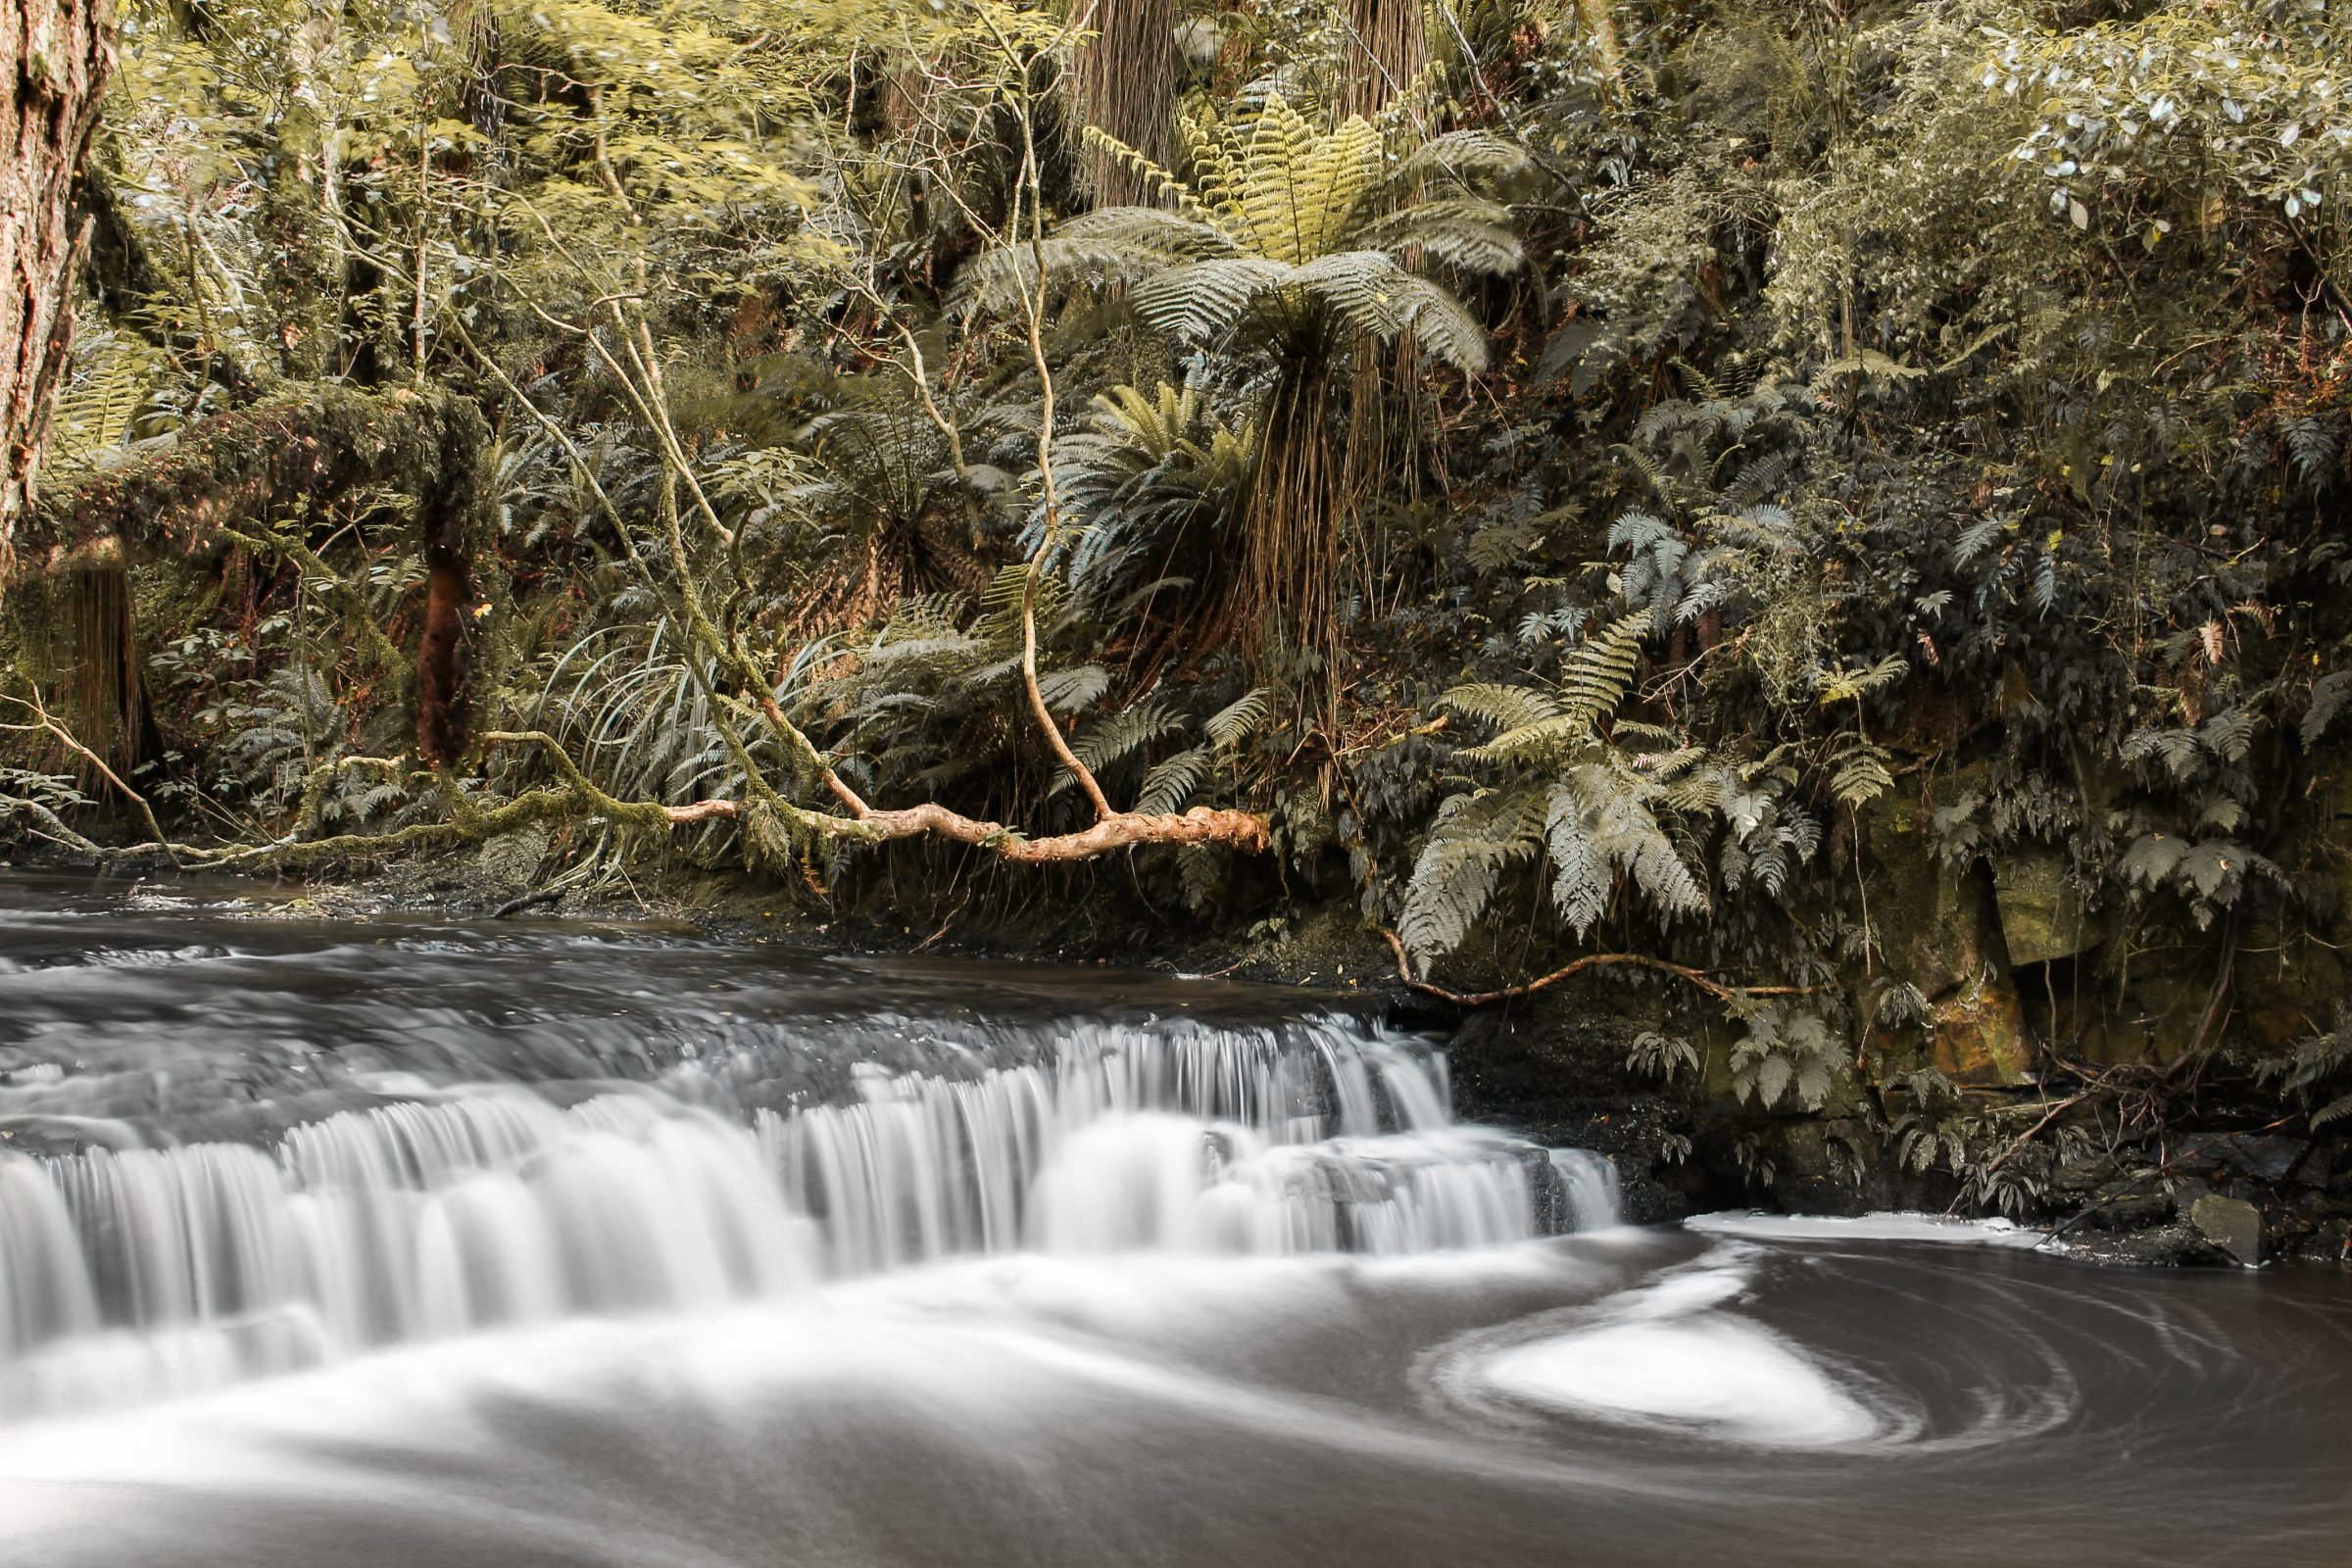
Taking travel photos by hand is great, but sometimes a photo requires a tripod. For example, if you want to be in your shot, if there is little light or if you want to create that magical effect with a long shutter speed at a waterfall or sunset. Tripods come in all shapes and sizes, from small to flexible and lightweight tripods.
General tips for the most beautiful travel photos
A great travel photo is not only dependent on the quality of your camera or the settings. There are many more factors you can take into account to improve your travel photos. Not only for your SLR camera or drone, but also your phone. Think about choosing the time at which you will shoot, the location and the subject.
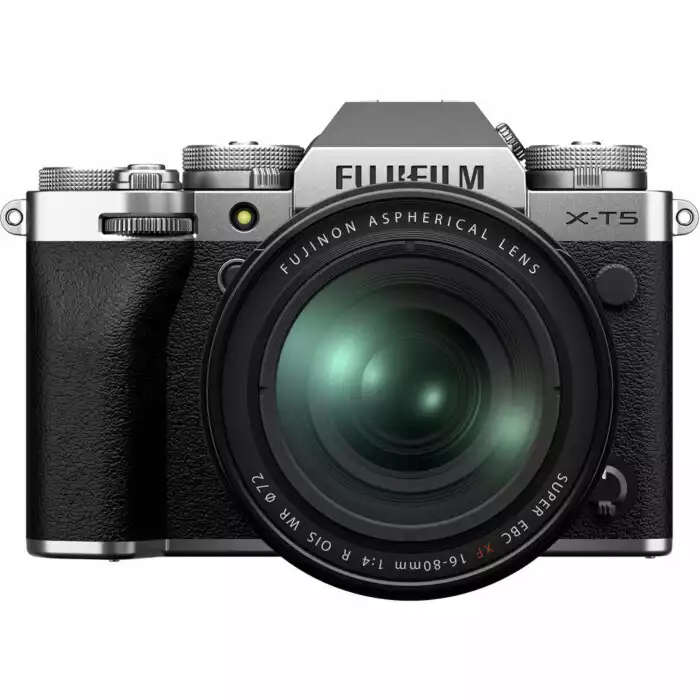
The Fujifilm X-T5 with 16-80 is the ultimate all-round world travel camera† This camera has been declared several times by both the consumer association and Tweakers.net the best system camera you can buy. Even on automatic mode, you suddenly feel like a professional photographer!
- The best tested camera
- Fantastic photos
- 6.2K video
- 5 year warranty
Also read: What is the best camera for a world tour? And why?
Get inspired
Learn from other photographers and travel reporters by studying and analyzing their work. Browse travel magazines, photo books, read online travel blogs or search Pinterest for ideas. You can also follow people on social media who take beautiful travel photos, usually you also get useful tips there. Besides taking pictures, there is also a lot to learn in the field of photo editing. We often make a mood board in Canva or collect screenshots on our mobile phones.
Make a plan
There was a time when we traveled everywhere with our cameras and took pictures at random. That's totally fine, but planning your photo session in advance has several advantages. It saves time, because you know exactly what and how you want to shoot. You have also already thought about light, composition and possible poses.
Start by researching your destination and make a list of the sights, landscapes and cultural aspects you want to capture. Make a schedule and write down the ideal times and locations for your photos. Sometimes we visit the location beforehand to look at suitable places or how the light falls at certain times. This takes time, but it does provide you with unique and atmospheric travel photos. Check the weather forecast the day before and change your plans if things turn out differently.
A well-thought-out plan helps to take better photos, but it does take away a lot of spontaneity and improvisation. It is precisely those unexpected moments that often produce the most special photos. Again, find your balance here.
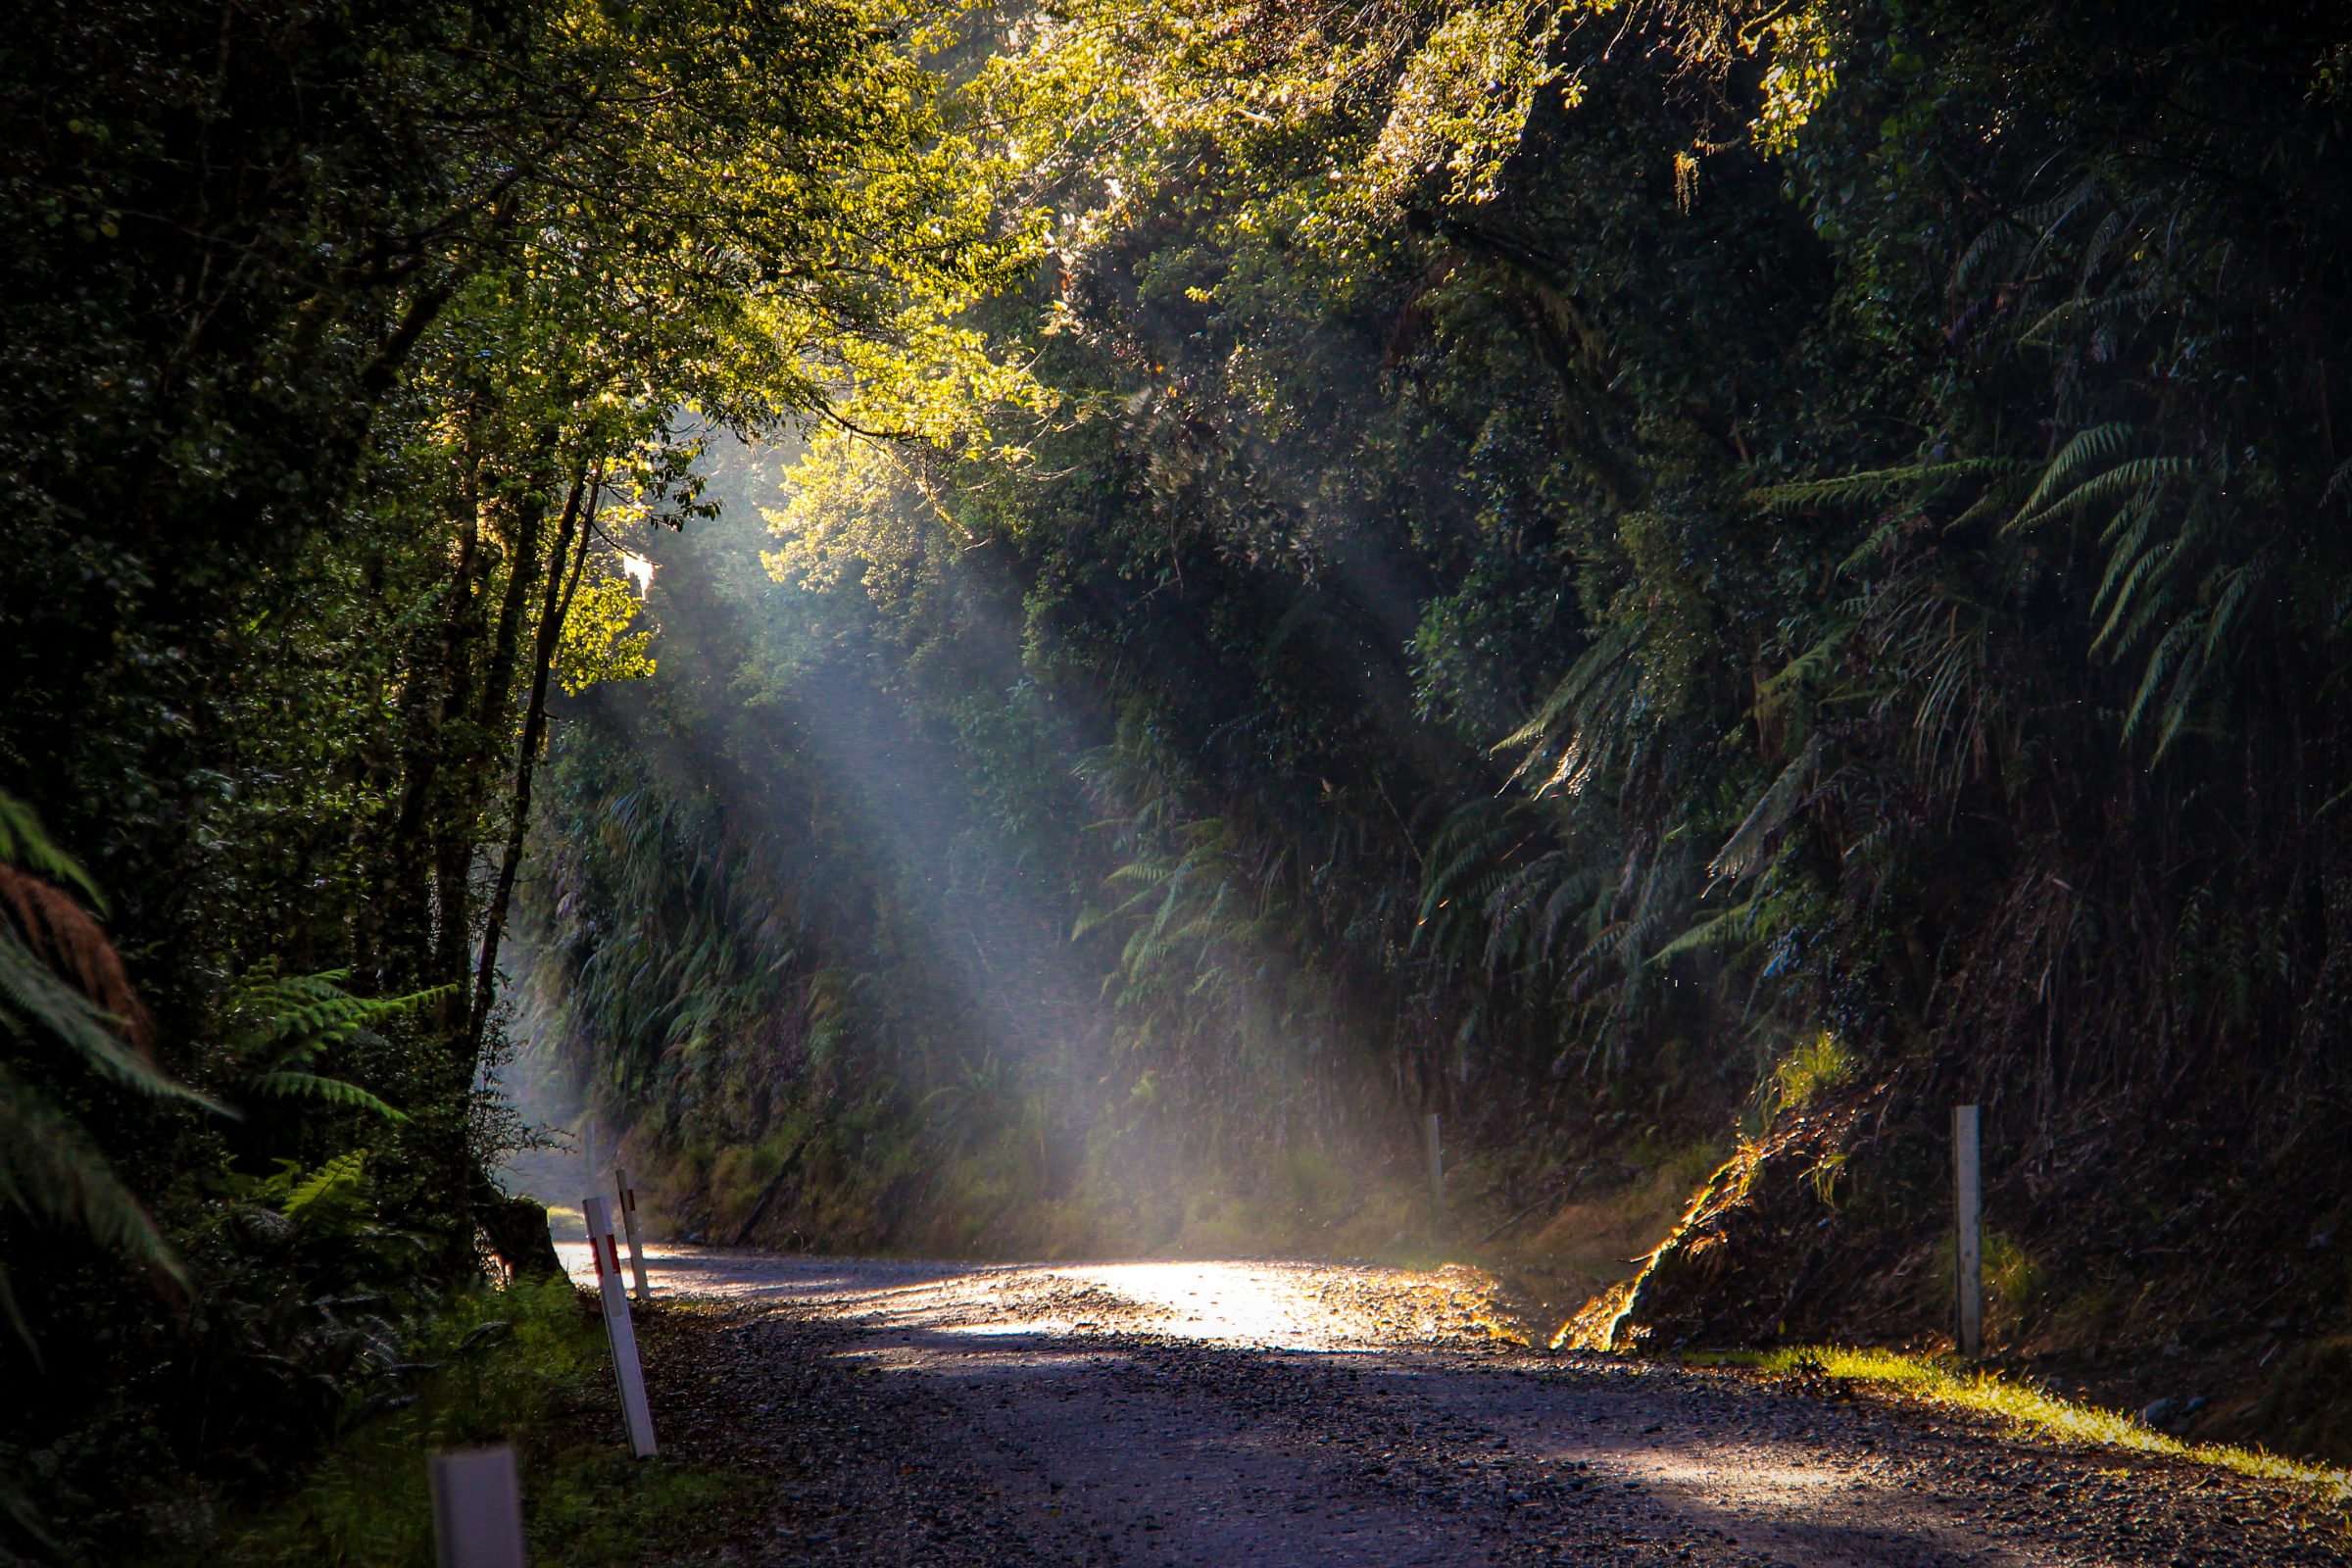
Choose the right time of day
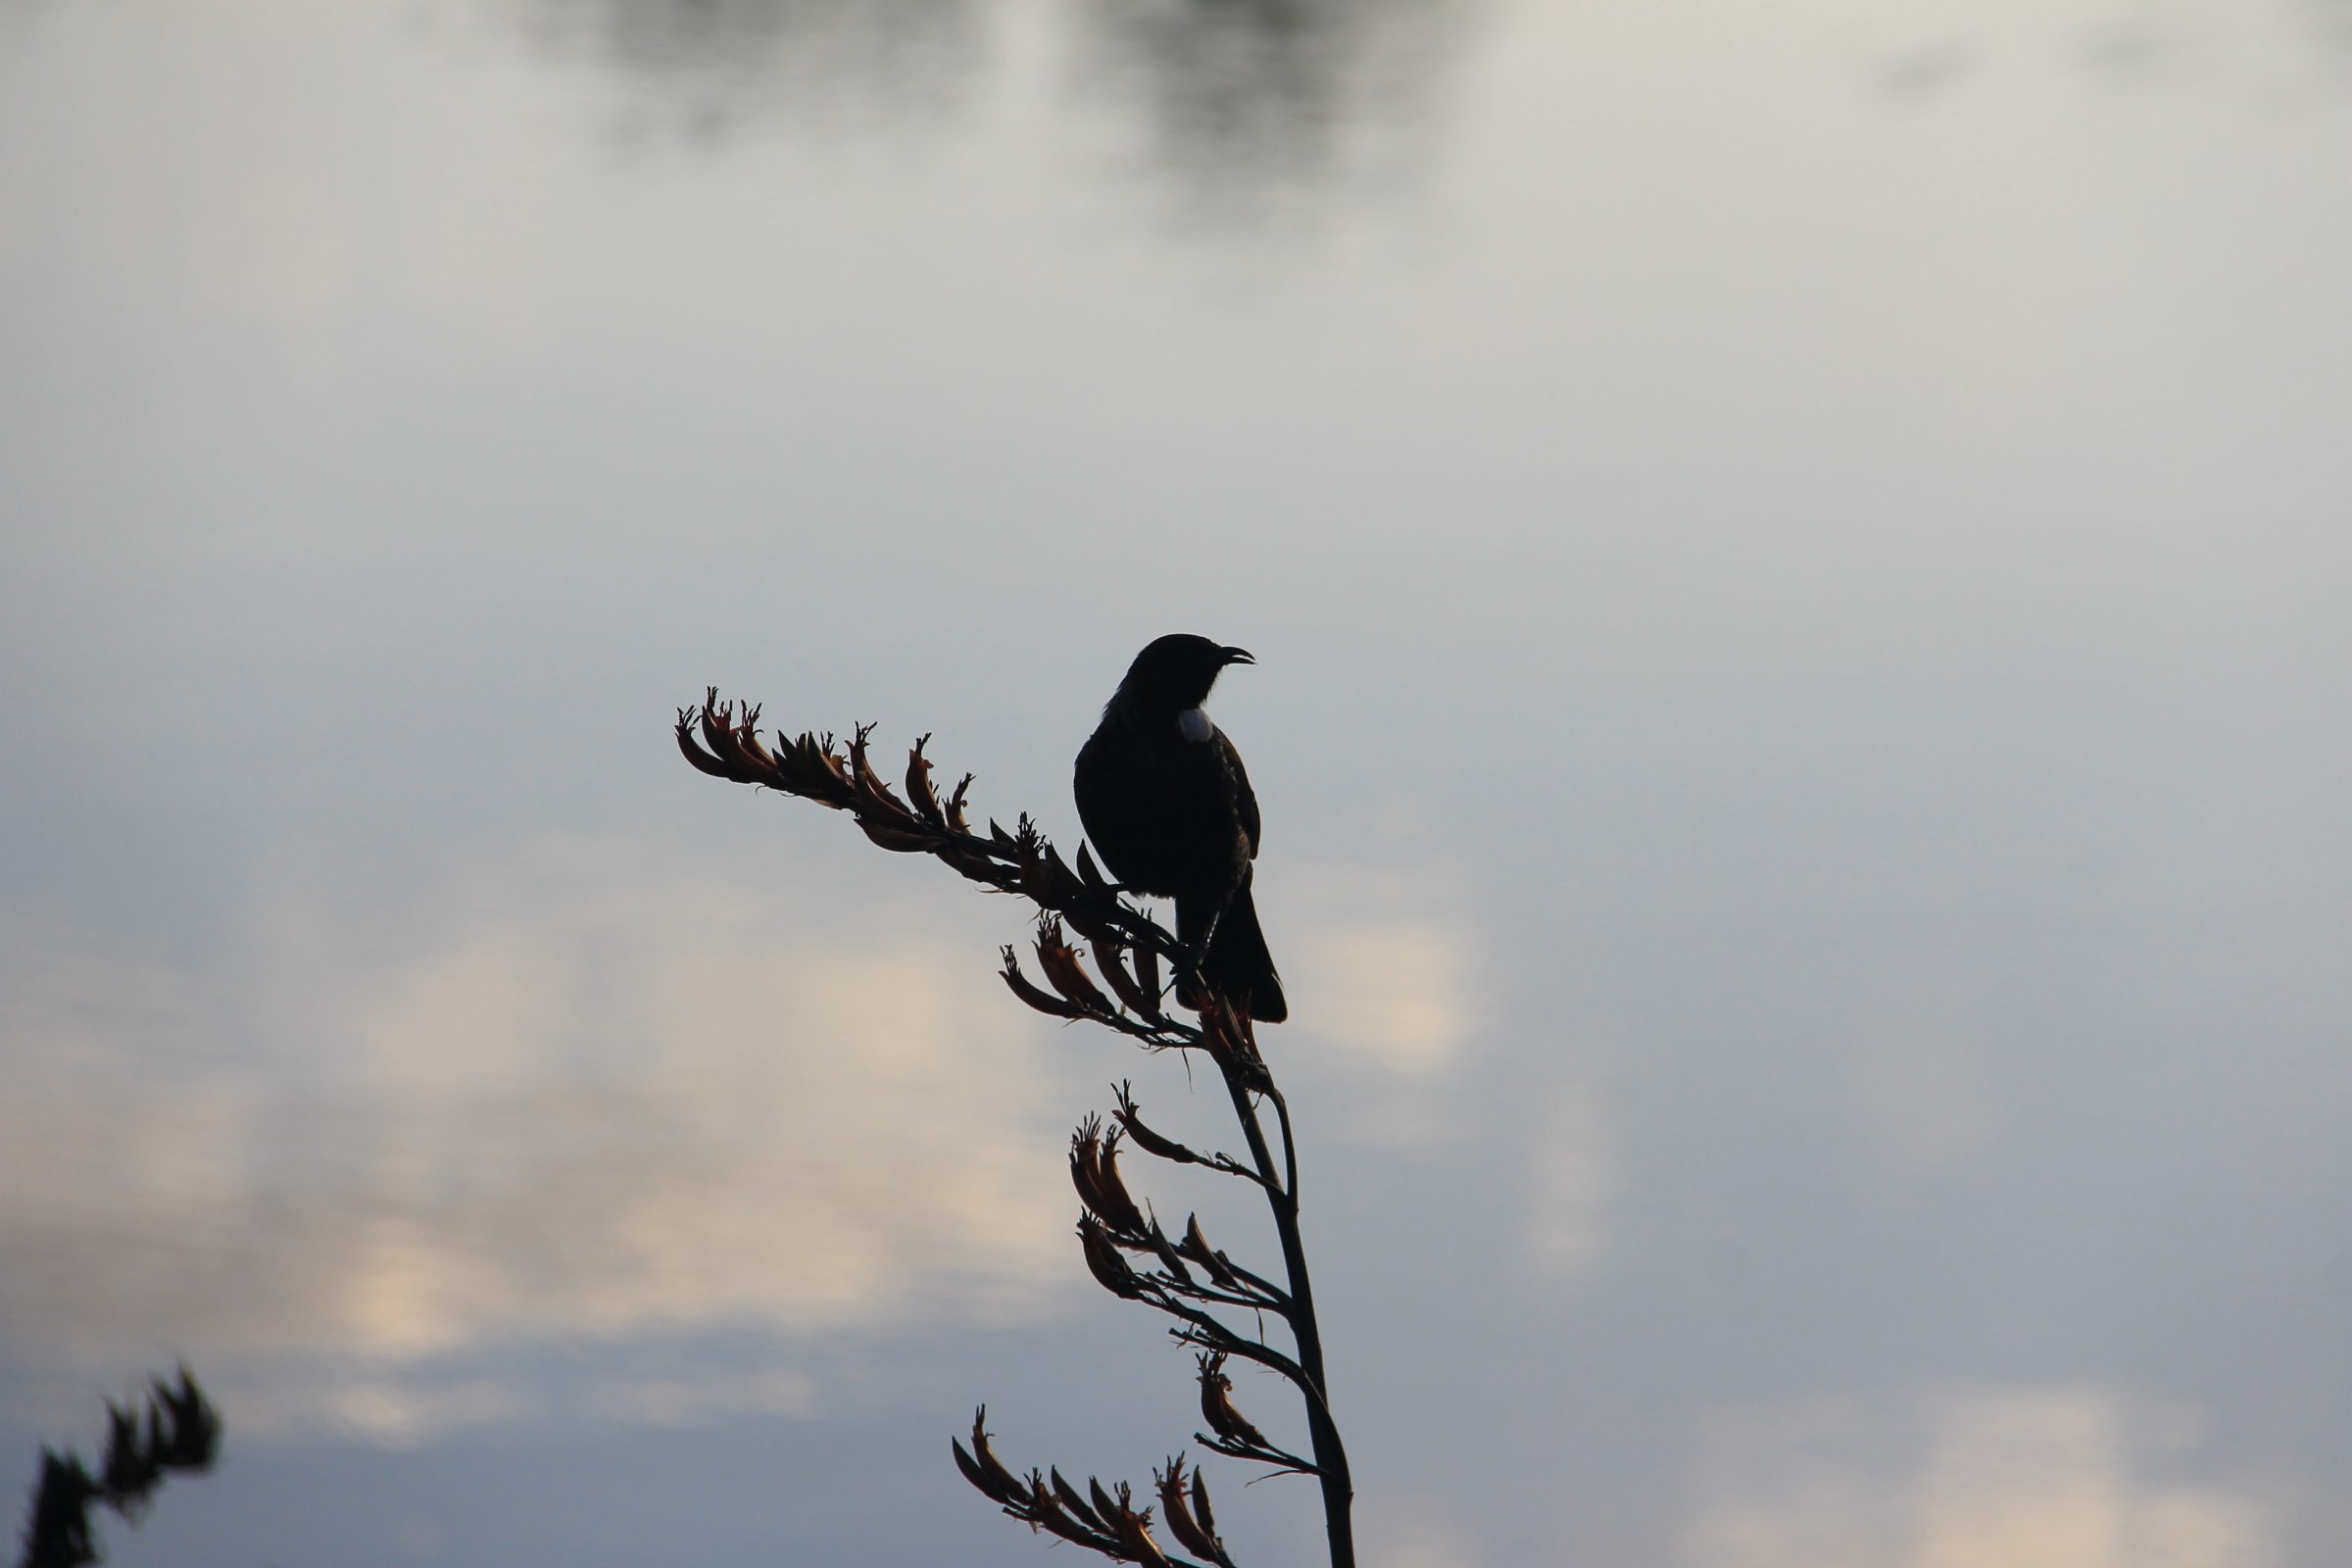
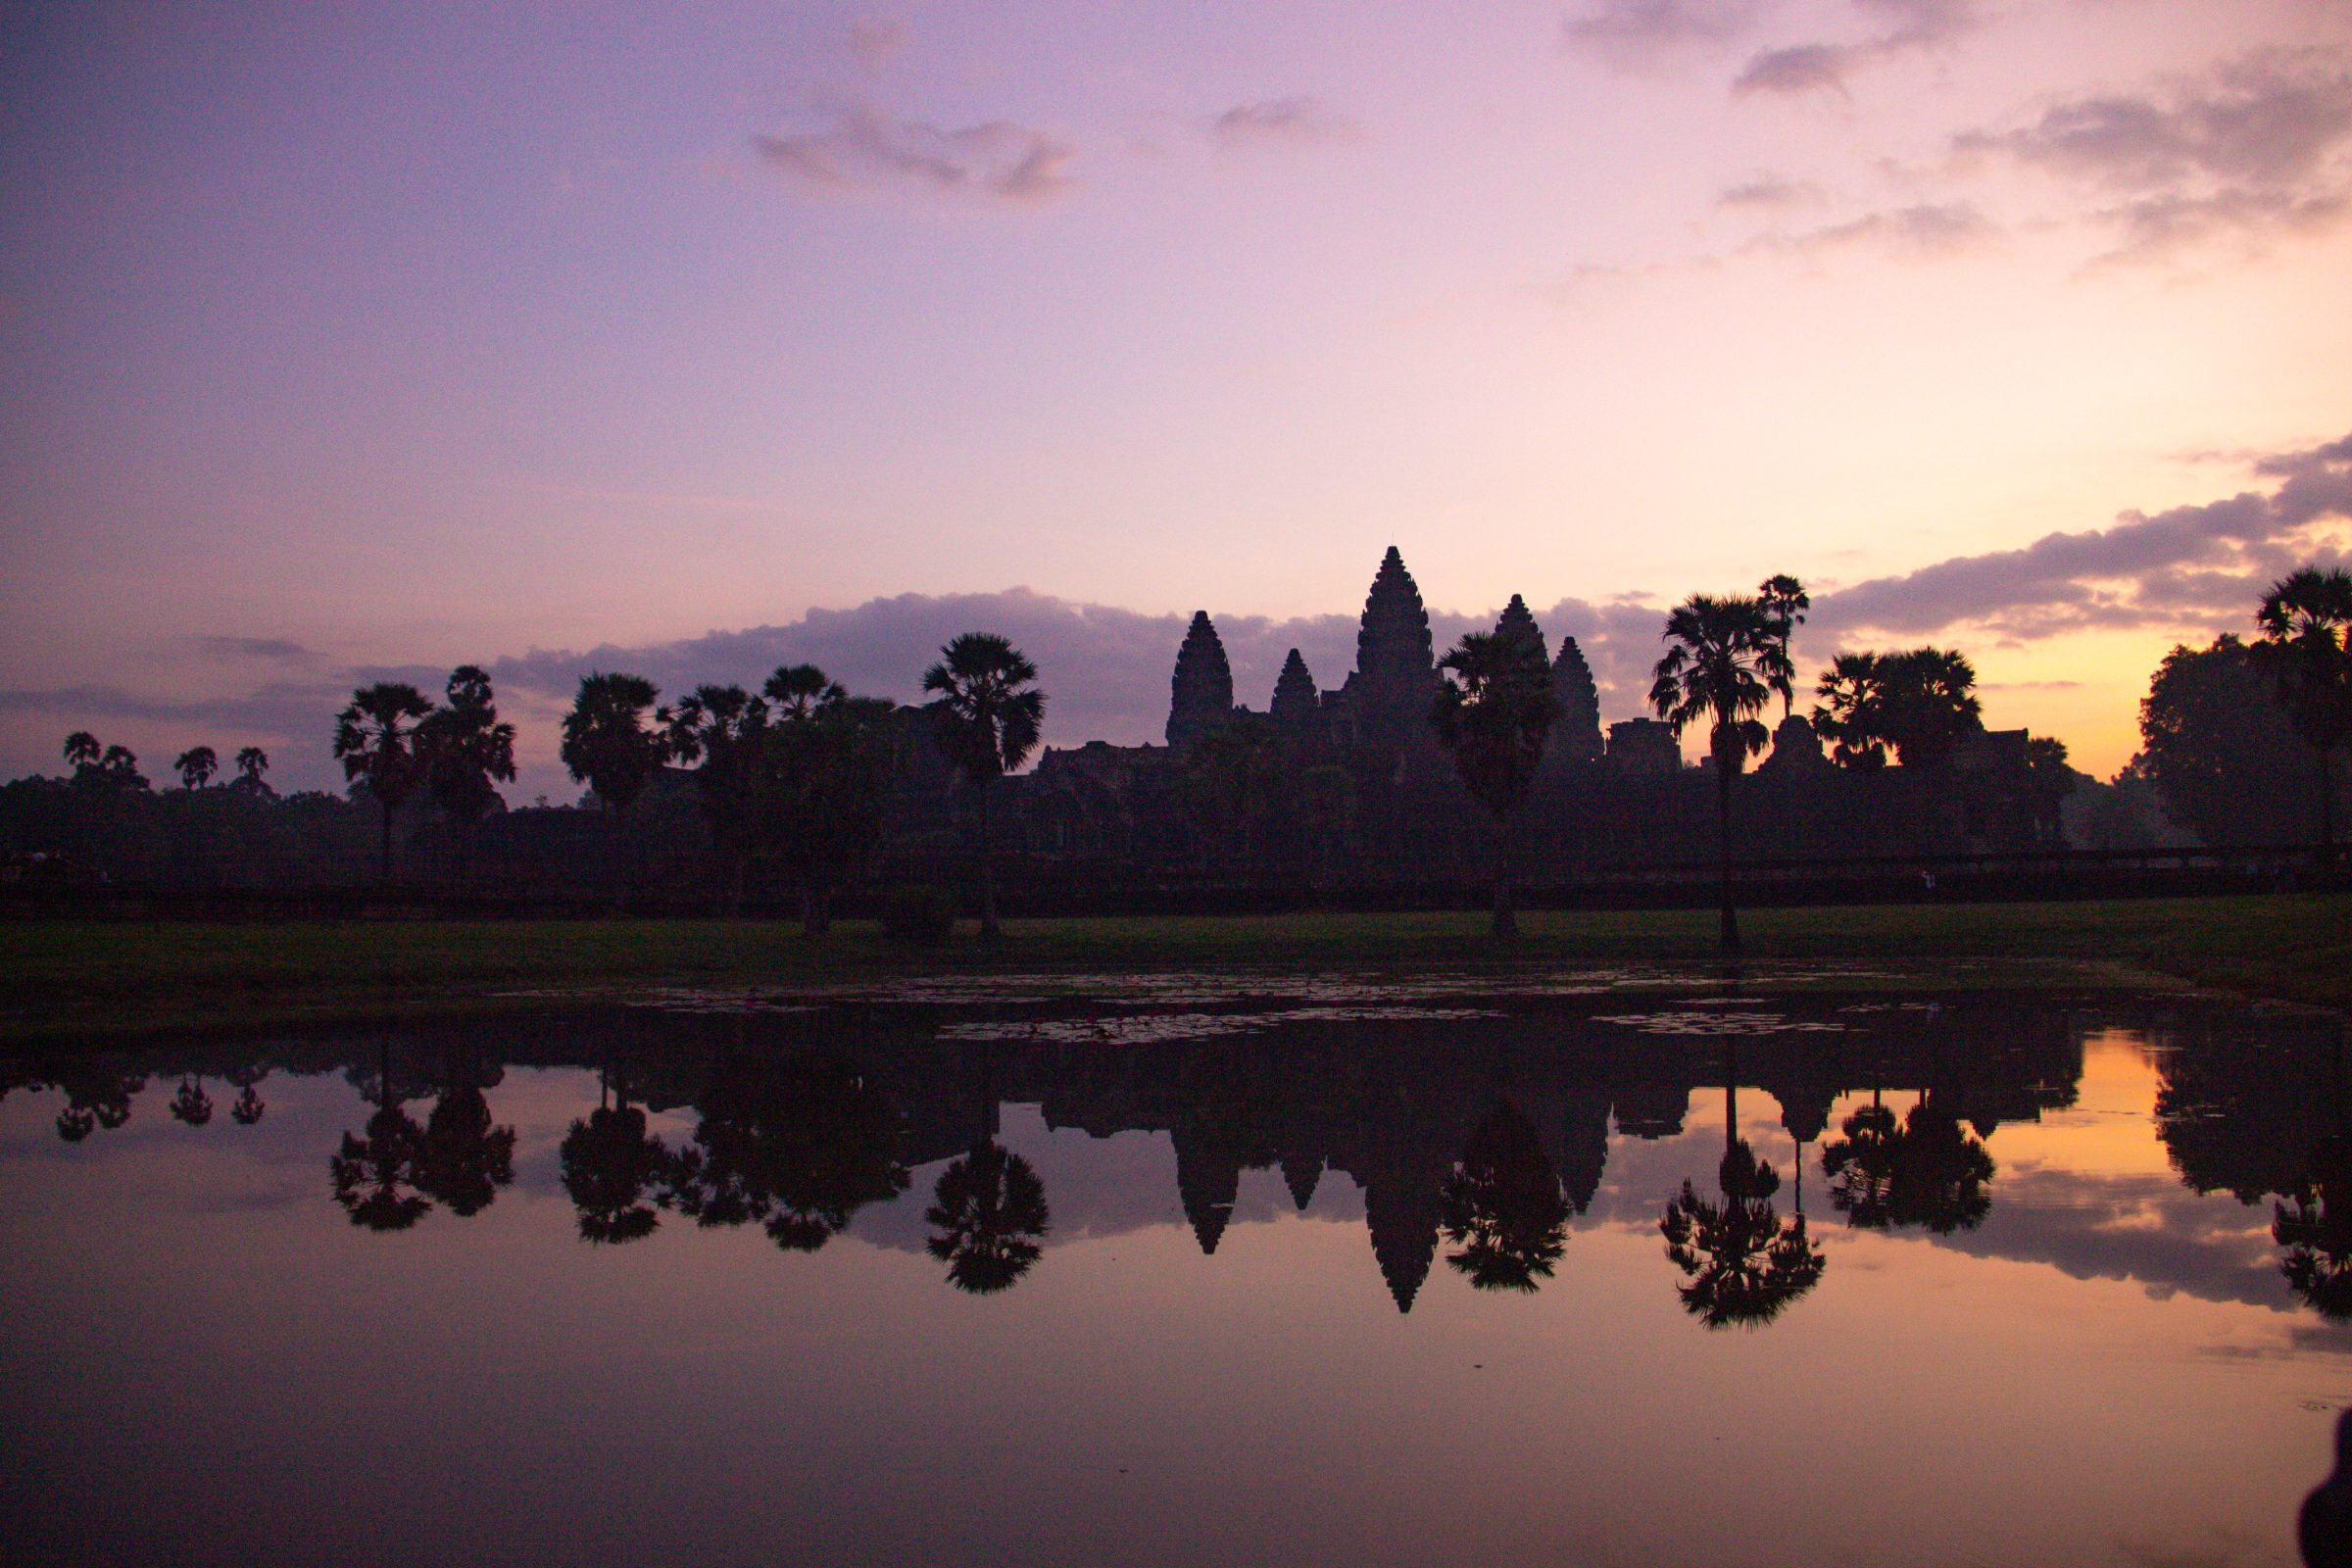
What time you shoot can make a huge difference in your travel photos. Shooting during the so-called “golden hour” – the hour after sunrise and the hour before sunset – creates warm, soft lighting. During these moments, the light is less bright and long shadows are created, creating interesting textures and depth in your photos. Landscapes are beautifully illuminated, with a warm glow that makes the colors more intense.
The right time of day may also depend on the specific location and desired effect. Experiment with different times of day to find the best lighting conditions for your subject and the desired mood of your photos. This isn't always easy, but your patience will be rewarded when you look back at the most dreamy travel photos on your camera.
Get out of bed early
You can choose to photoshop away entire hordes of tourists, but it is smarter to avoid them by getting up early. Make sure you have everything packed the night before to save time in the morning. Try to arrive before opening time at busy sights, you might be able to get in a little earlier. And if not, you're still on time. Weekdays are obviously better than weekends. Even better, travel off the beaten track to undiscovered places.

take your time
In travel photography, it's important to take your time and give yourself space to observe your surroundings. Taking a few photos in between often does not achieve the desired result. Let the location, nature or people affect you and try to capture this. Waiting for the right moments and lighting is usually worth it. If you haven't been shooting manually for that long, you also need the time to find the right settings.
Tell a story
The best photos tell a story. Now you may be thinking: “How? It's a static image." Travel photography is not only capturing images, but also experiencing and capturing the emotions and essence of the place.
Example: Anyone can take a picture of the Eiffel Tower. That will produce a nice picture, but is otherwise meaningless. Now imagine a photo of the Eiffel Tower at sunset, the sky in shades of orange and pink, in the foreground a couple standing hand in hand, gazing in amazement at the Eiffel Tower. A romantic moment that suddenly evokes a feeling of desire and inspiration. A photo that takes you to that specific moment and the emotions that go with it.

Technical tips for the most beautiful travel photos
Are you ready to take your travel photography to the next level? Let's start with some technical tips. Improve your skills step by step.
Shoot in RAW
When it comes to travel photography, shooting your photos in RAW format is a smart move. RAW is basically a raw file format that captures all of your camera's data without any compression or loss of quality. It gives you maximum flexibility and control over your photos during post-processing, for example in Adobe Lightroom. When traveling you often find yourself in different lighting conditions, from bright midday sun to dramatic sunsets. Shooting in RAW allows you to accurately adjust exposure, contrast and white balance afterwards. Lighten the shadows, make the colors more vibrant or add more contrast to make your travel photos pop.
Think about a good composition
A good composition determines the way you tell a story and hold the viewer's attention. When composing your photos, it is important to consciously think about the placement of your subject, the background, the use of lines, patterns and symmetry. For example, try using "the rule of thirds" where you divide the photo into thirds and place your subject on one of the intersections. Or play with lines, such as a winding path that leads to an impressive view.
Pay attention to the white balance
The right white balance ensures that the colors in your photos are displayed correctly. Adjust the white balance setting based on the light you encounter, such as daylight, cloudy weather, or artificial lighting. Use the presets or set the white balance manually.
Make use of the histogram
Check the histogram on your camera to make sure your photo is properly exposed. The histogram shows the distribution of brightness in your photo and helps you identify overexposed or underexposed areas.
Try burst mode
Burst mode, also known as continuous shooting mode, is a useful function for travel photography. You can quickly take several photos in succession, which is especially useful when shooting fast-moving subjects, such as wildlife or busy streets. With the burst mode you increase the chance of getting a good shot. The disadvantage is that this mode requires a lot of storage space and that you spend a lot of time selecting the best photos.
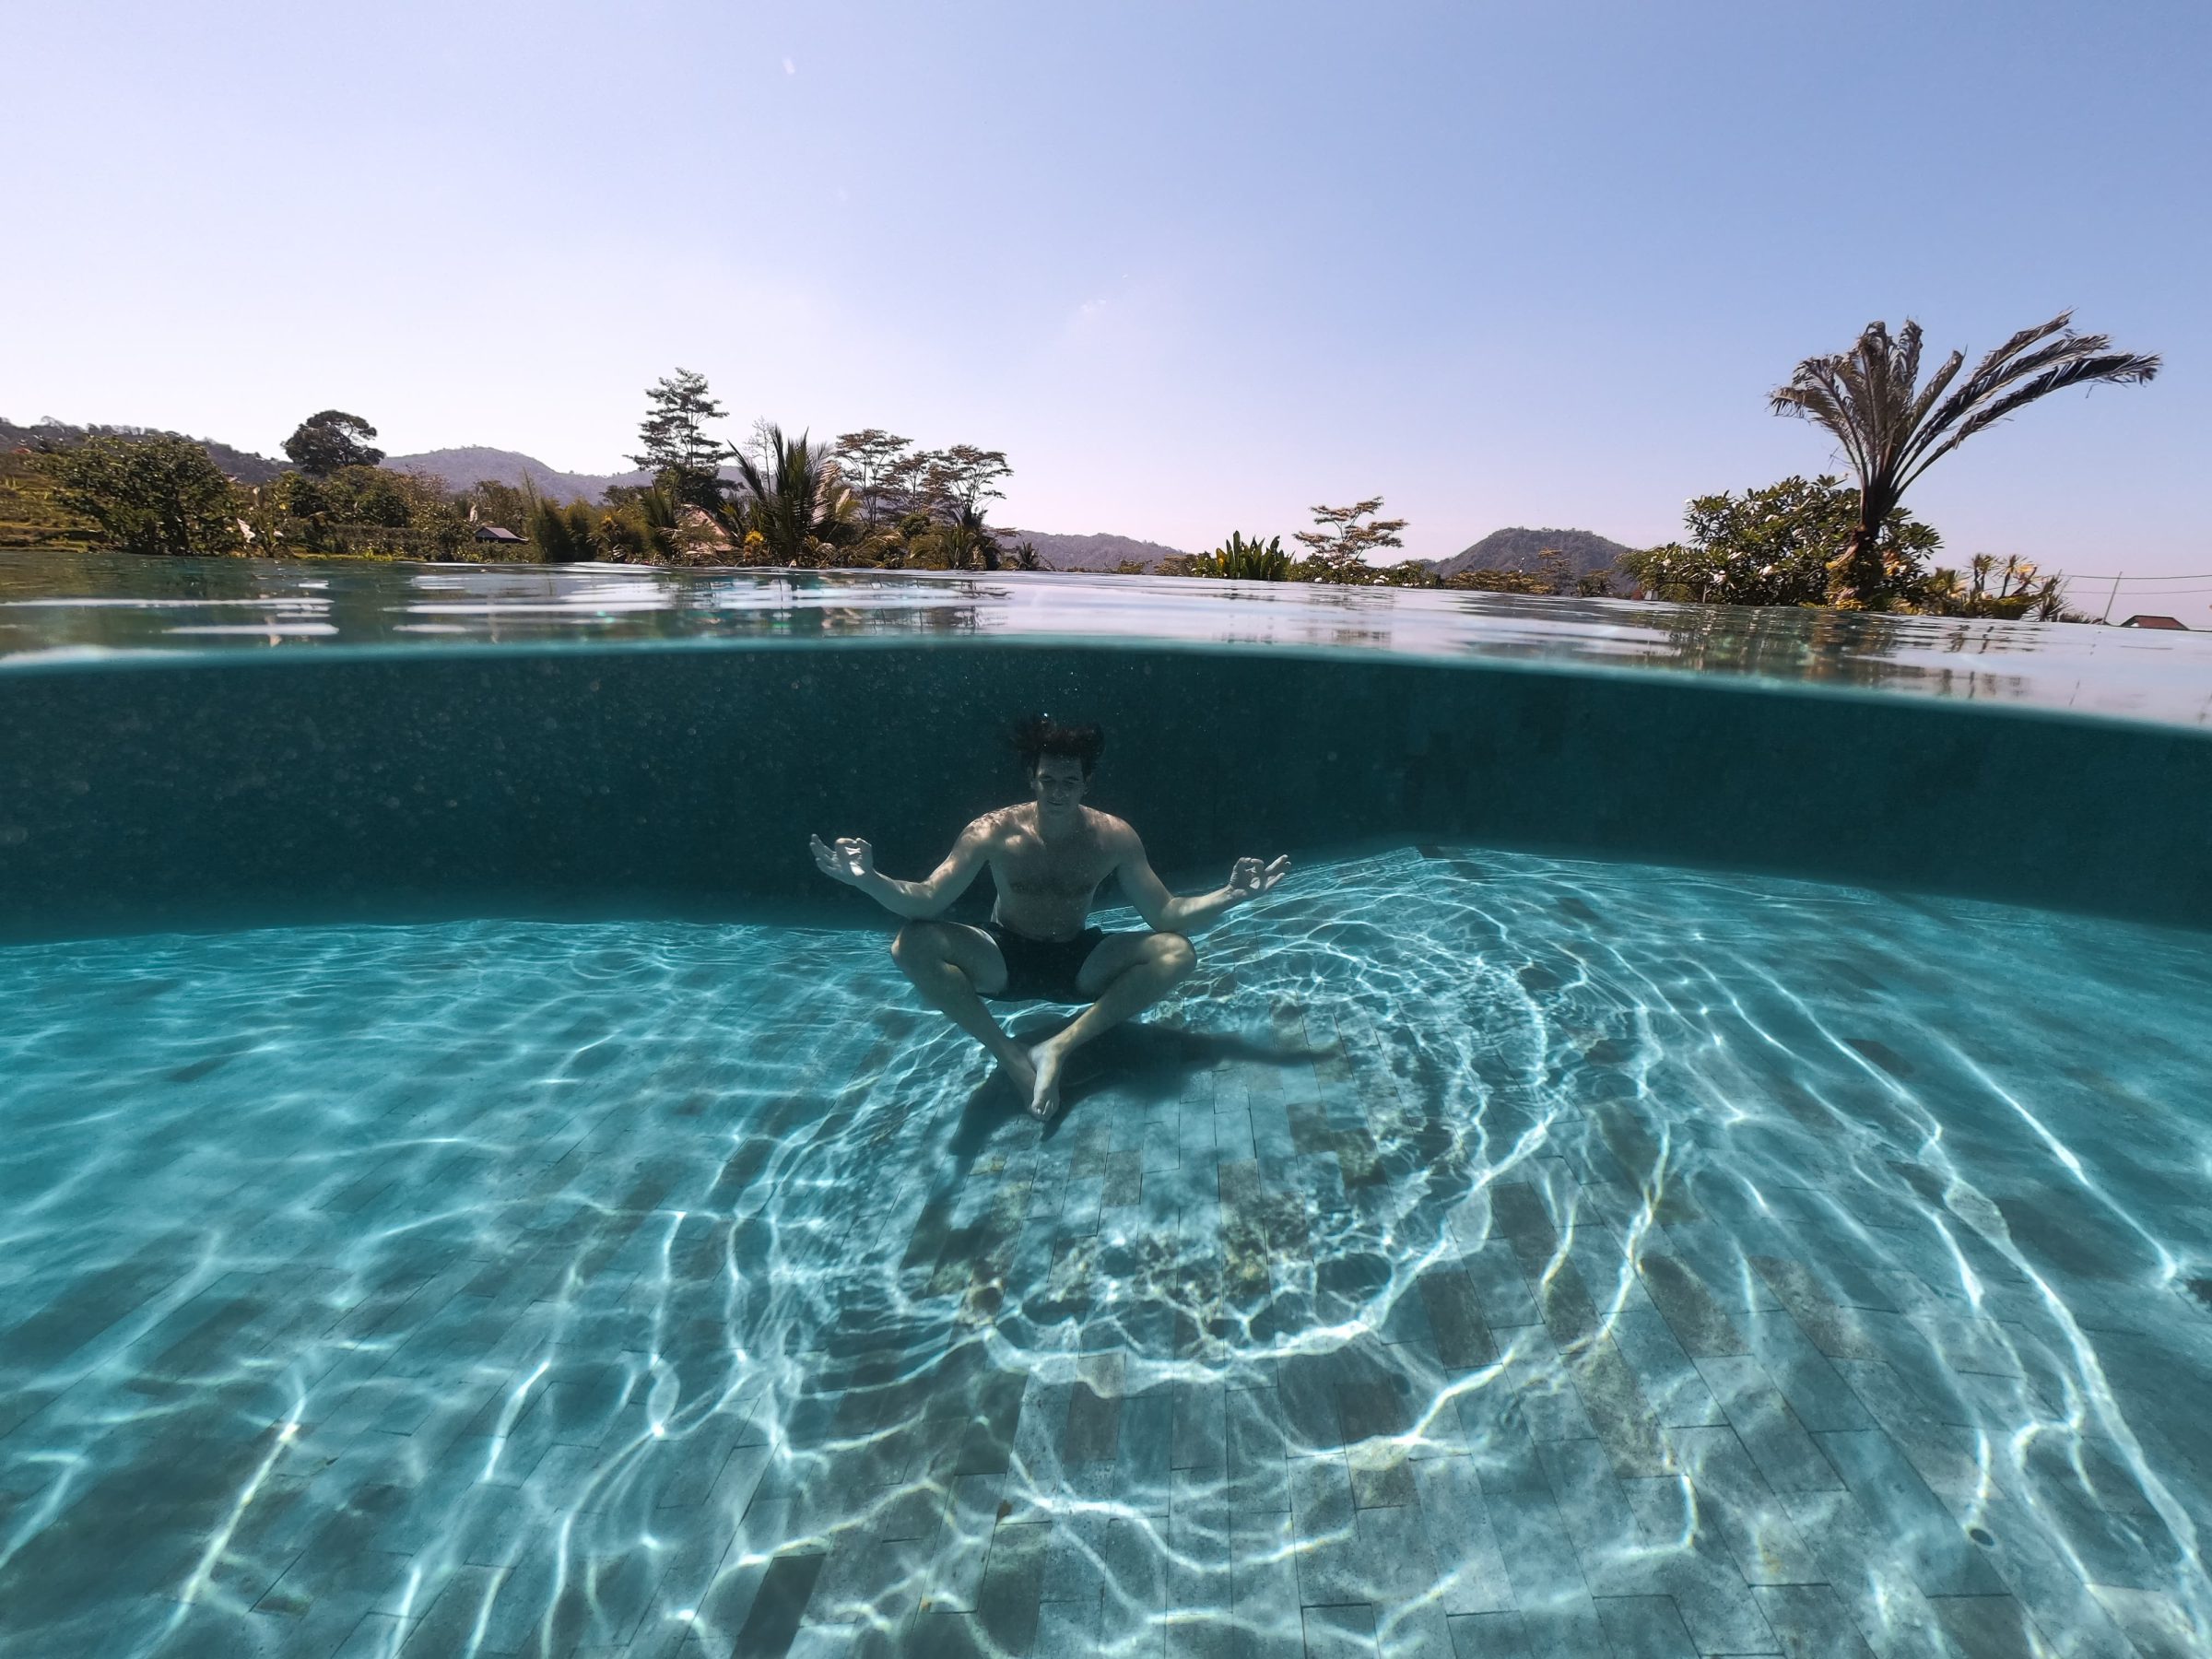
Take travel photos with a GoPro Dome
Looking for a creative way to give your travel photos a unique look? Then a GoPro Dome might be something for you. With a GoPro Dome you take photos where you capture both above and under water, so-called "split shots". If you already have a GoPro camera, you can buy a Dome port as an accessory. This is a hemisphere made of glass or plastic that you place in front of the lens of your camera. Here are the best tips for getting the most out of your travel photos with a GoPro Dome.
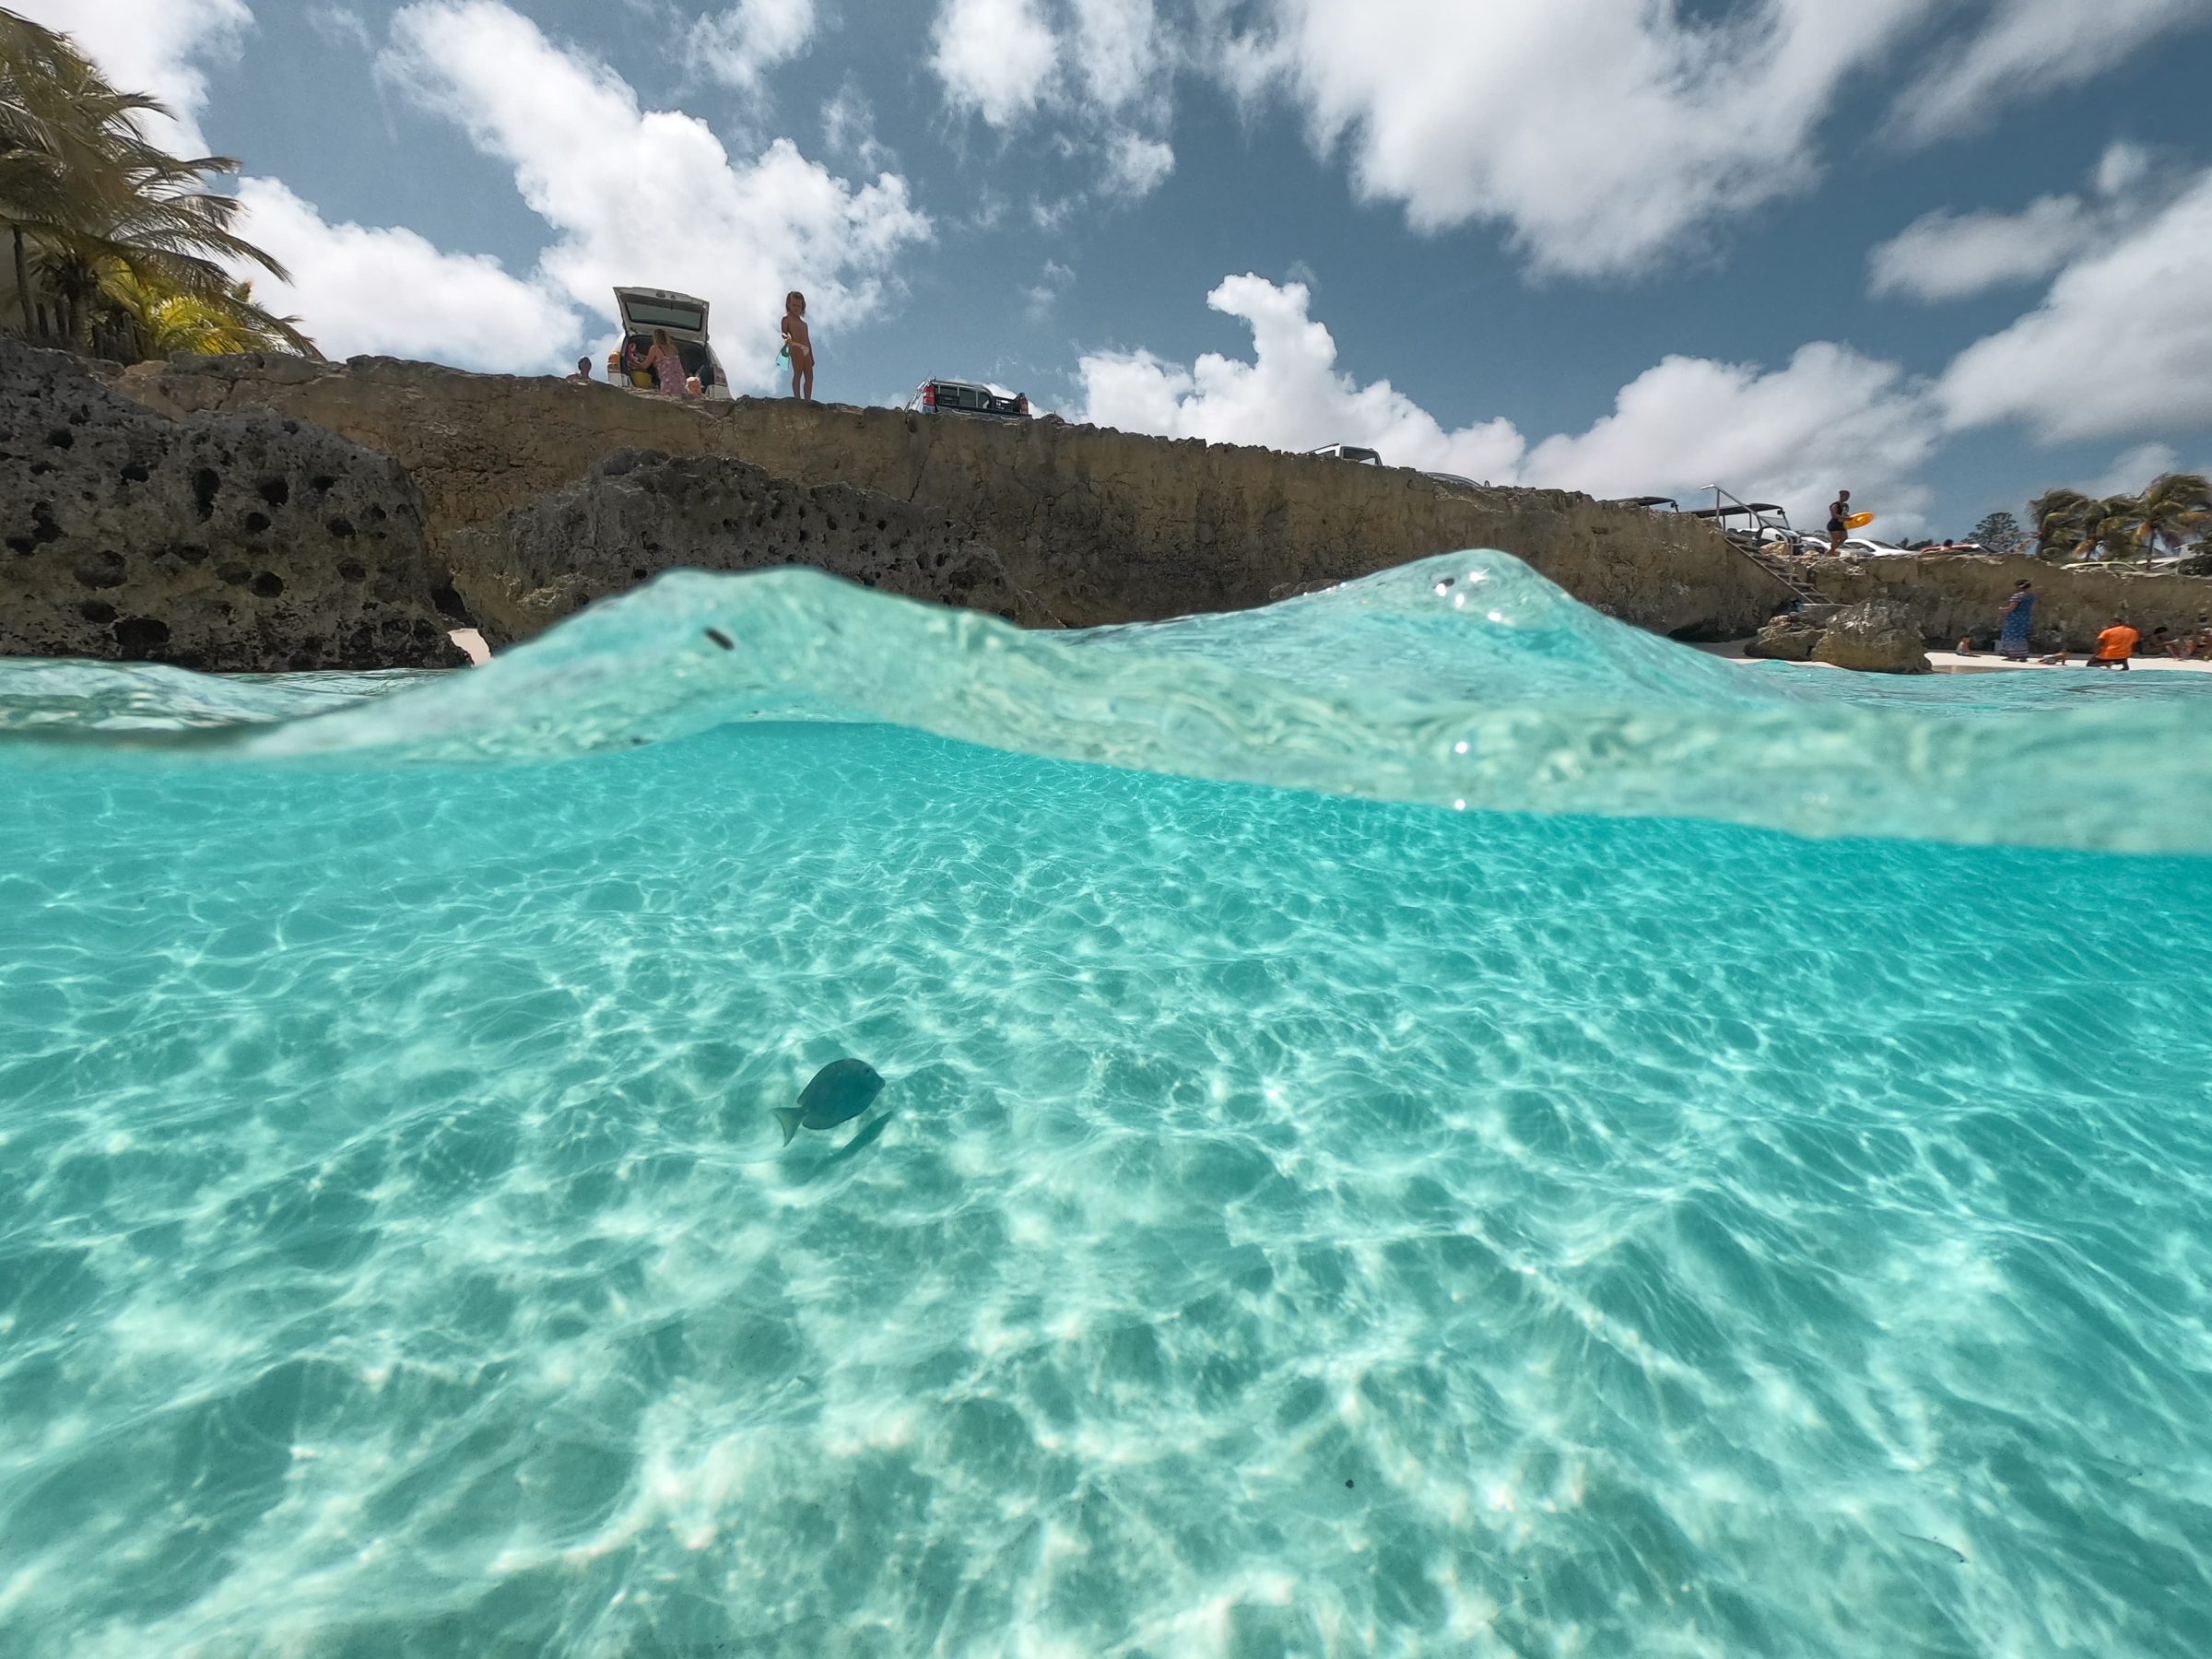
Choose a good location
Look for places where the transition between the underwater and above water landscape is interesting. Think of exotic beaches, clear lakes or colorful coral reefs. On calm days, the water is usually calm, which makes shooting with your GoPro dome a lot easier. Sunlight creates a nice effect in the water, but make sure you have the sun at your back, not in your lens.
Prevent water drops on your dome
You've been taking photos all afternoon and are looking enthusiastically at your screen. Your face twists, because you see drops on almost every photo, very disappointing! You can get rid of them during editing, but not always. Prevent water droplets by lubricating your dome port with (environmentally friendly) liquid soap. Your own spit also helps, but is not the best option. You are less bothered by water drops on a glass dome, but they are very vulnerable, which is not convenient when traveling. In addition to the outside of the Dome port, things can also go wrong on the inside. If your dome fogs up due to condensation, then you can't do anything at all. Use anti-fog strips and don't store your GoPro dome full in the air conditioner.
Use the widescreen mode
To get the most out of the 'split effect', shoot or film vertically and in a wide mode. You see more of the environment and therefore have more leeway to take a good photo.
Get creative with the level line and split line
Often there is a line on the back of the GoPro Dome that indicates where the halfway point of the Dome is. Use this line to level the shots and to measure where the 'split level' of the photos is. This is especially useful if you can't see the GoPro's screen.
Unique travel photos with a drone
Drones are becoming more common, especially when traveling. You have a completely different perspective, which you normally only have from an airplane or tall building. With a drone you have the freedom to capture beautiful landscapes, special patterns and iconic landmarks with a bird's eye view. You do need knowledge about the use of drones, regulations, privacy and safety of others. It is slightly different from a normal camera or GoPro. But once you have mastered this, a world will open up for you. With the tips below drone photography at least you are well on your way.
Learn all the ins and outs of your drone
With a drone you not only have to find the right settings for your travel photos, you also have to fly at the same time. That is quite a task, especially in the beginning. Practice a lot to master flying so you can focus on photography.
Explore new perspectives
With a drone you can go in all directions, try unique compositions and perspectives. For example, fly low over water surfaces, between trees or above mountain tops. Experiment with different heights and viewing angles to create eye-catching travel shots.
Play with movement
Take a dynamic photo with motion effects. Try making a “long exposure” while your drone is moving, creating a smooth effect of, for example, running water or passing cars. This can give your photos a unique and artistic look. You often need ND filters (a kind of sunglasses for your drone) for this, because otherwise your drone photos will be too overexposed due to the slower shutter speed.
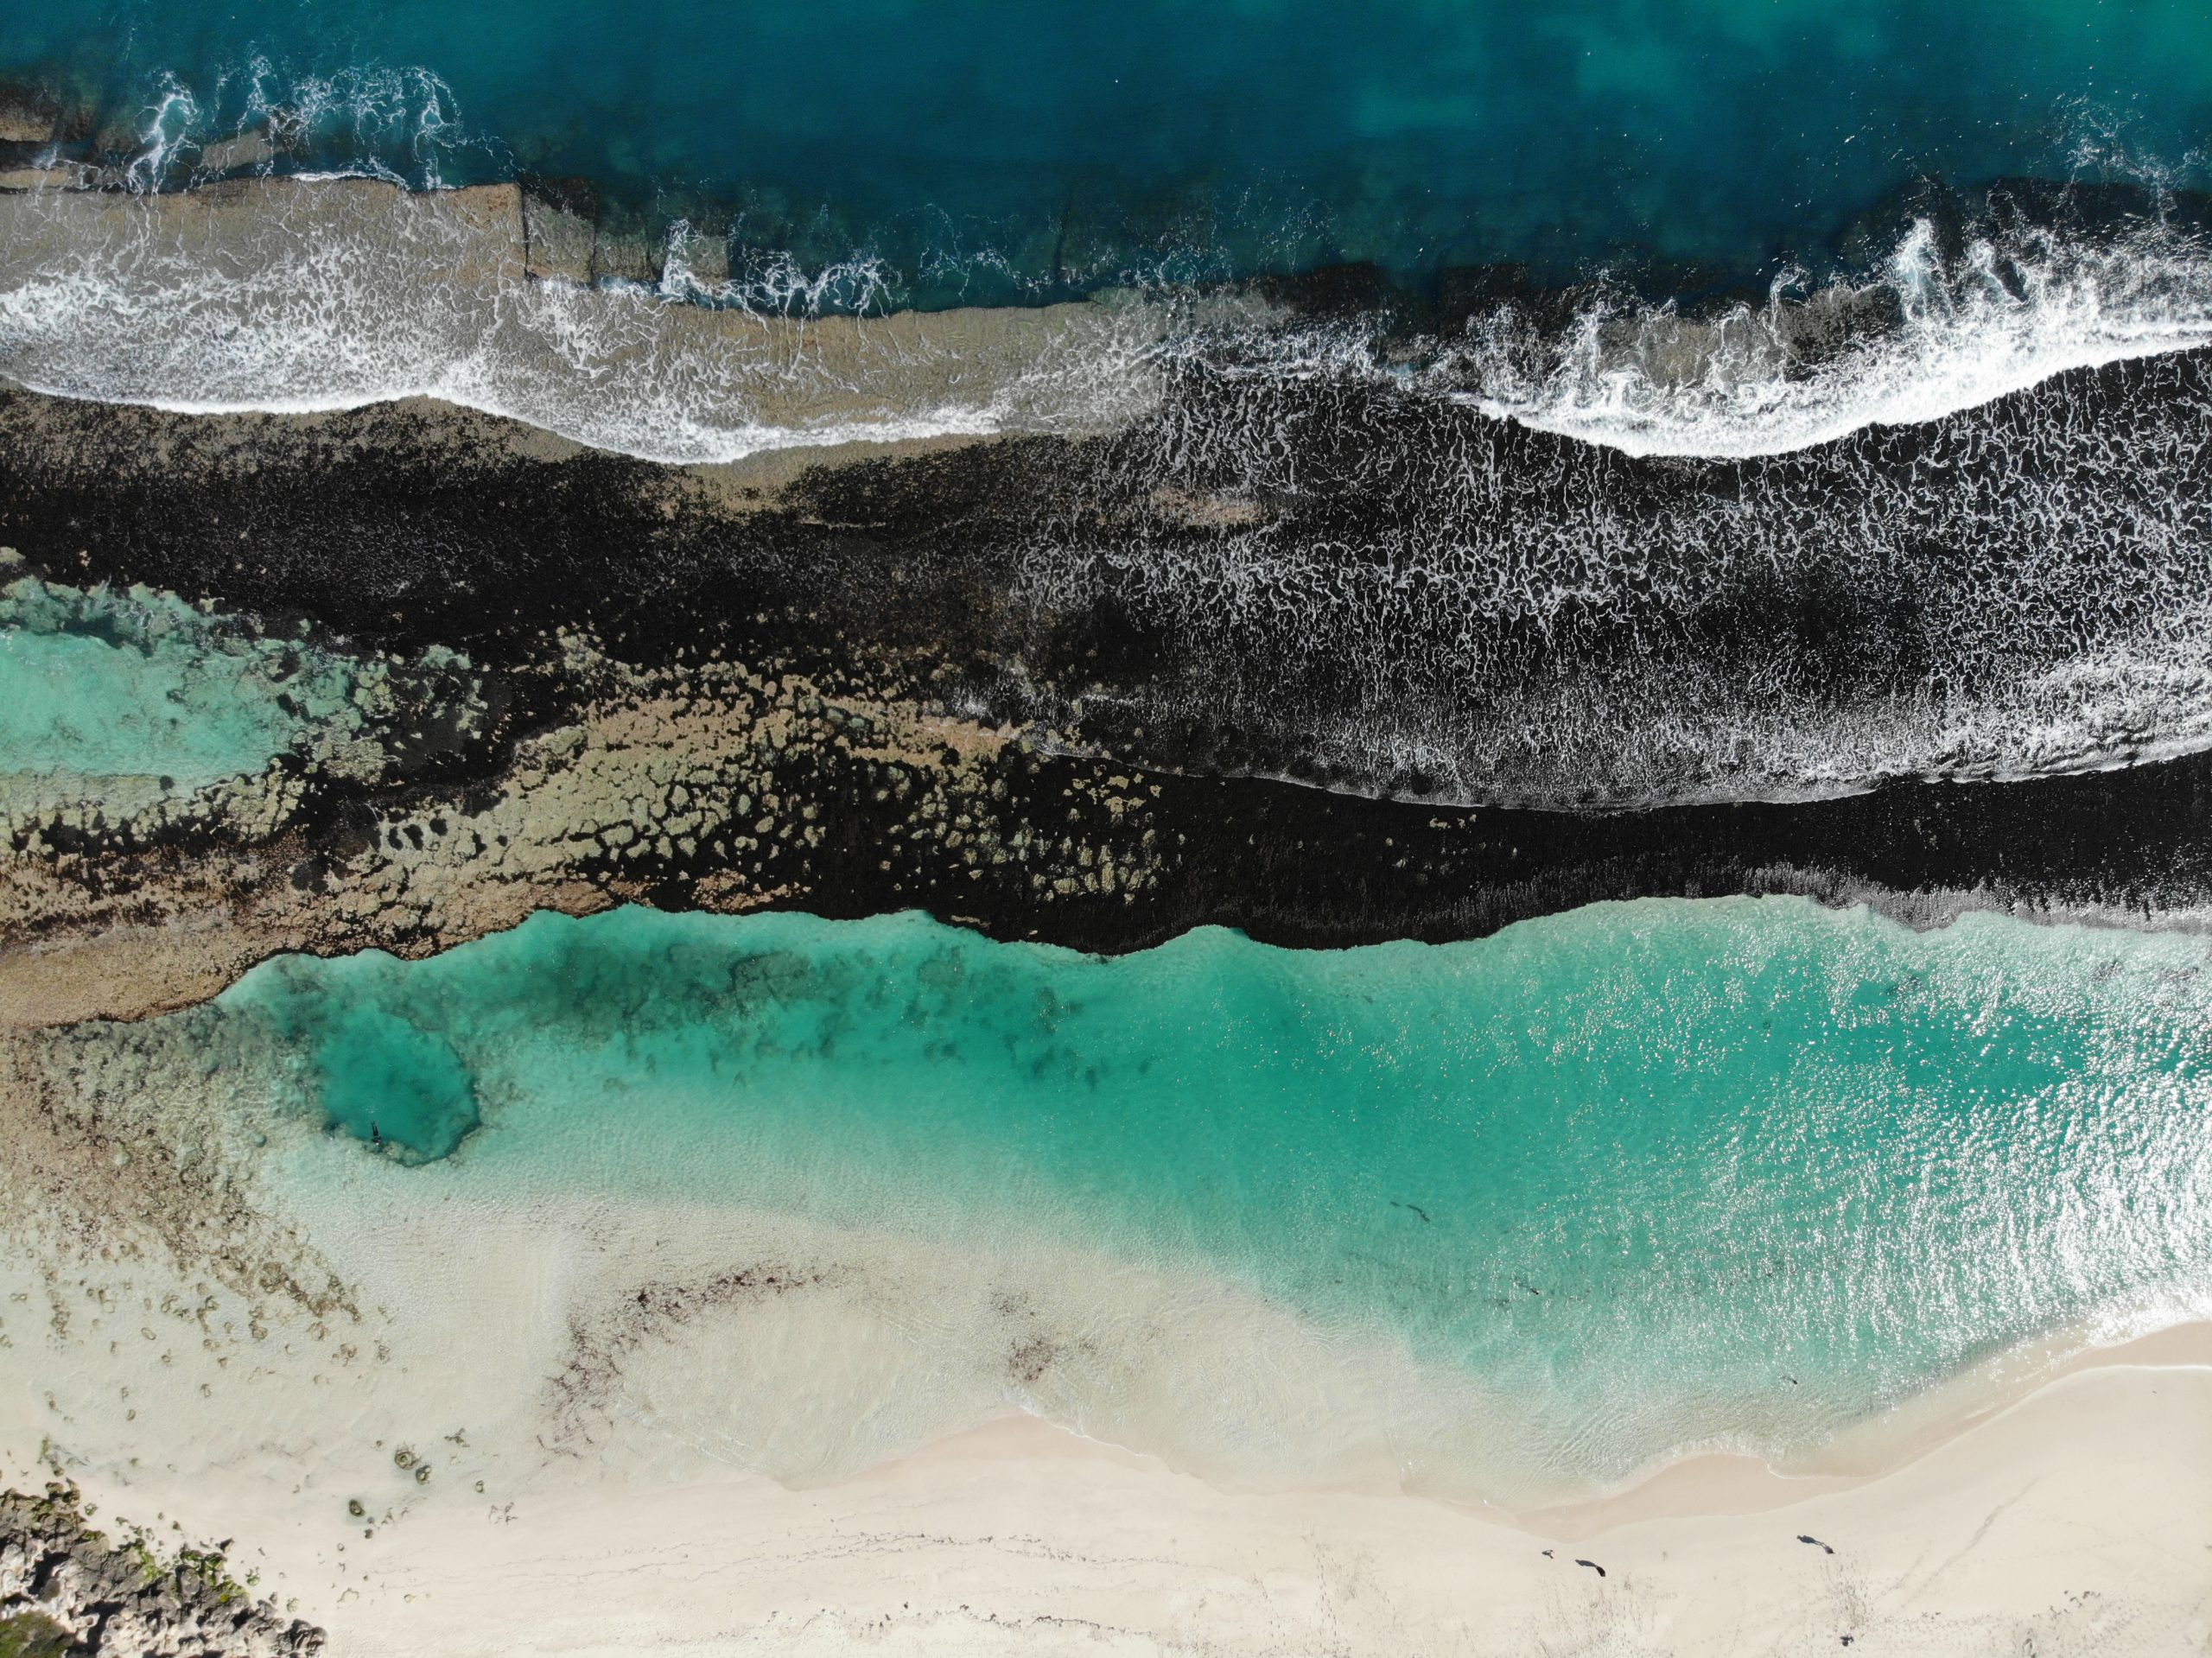
Shoot with the drone camera down
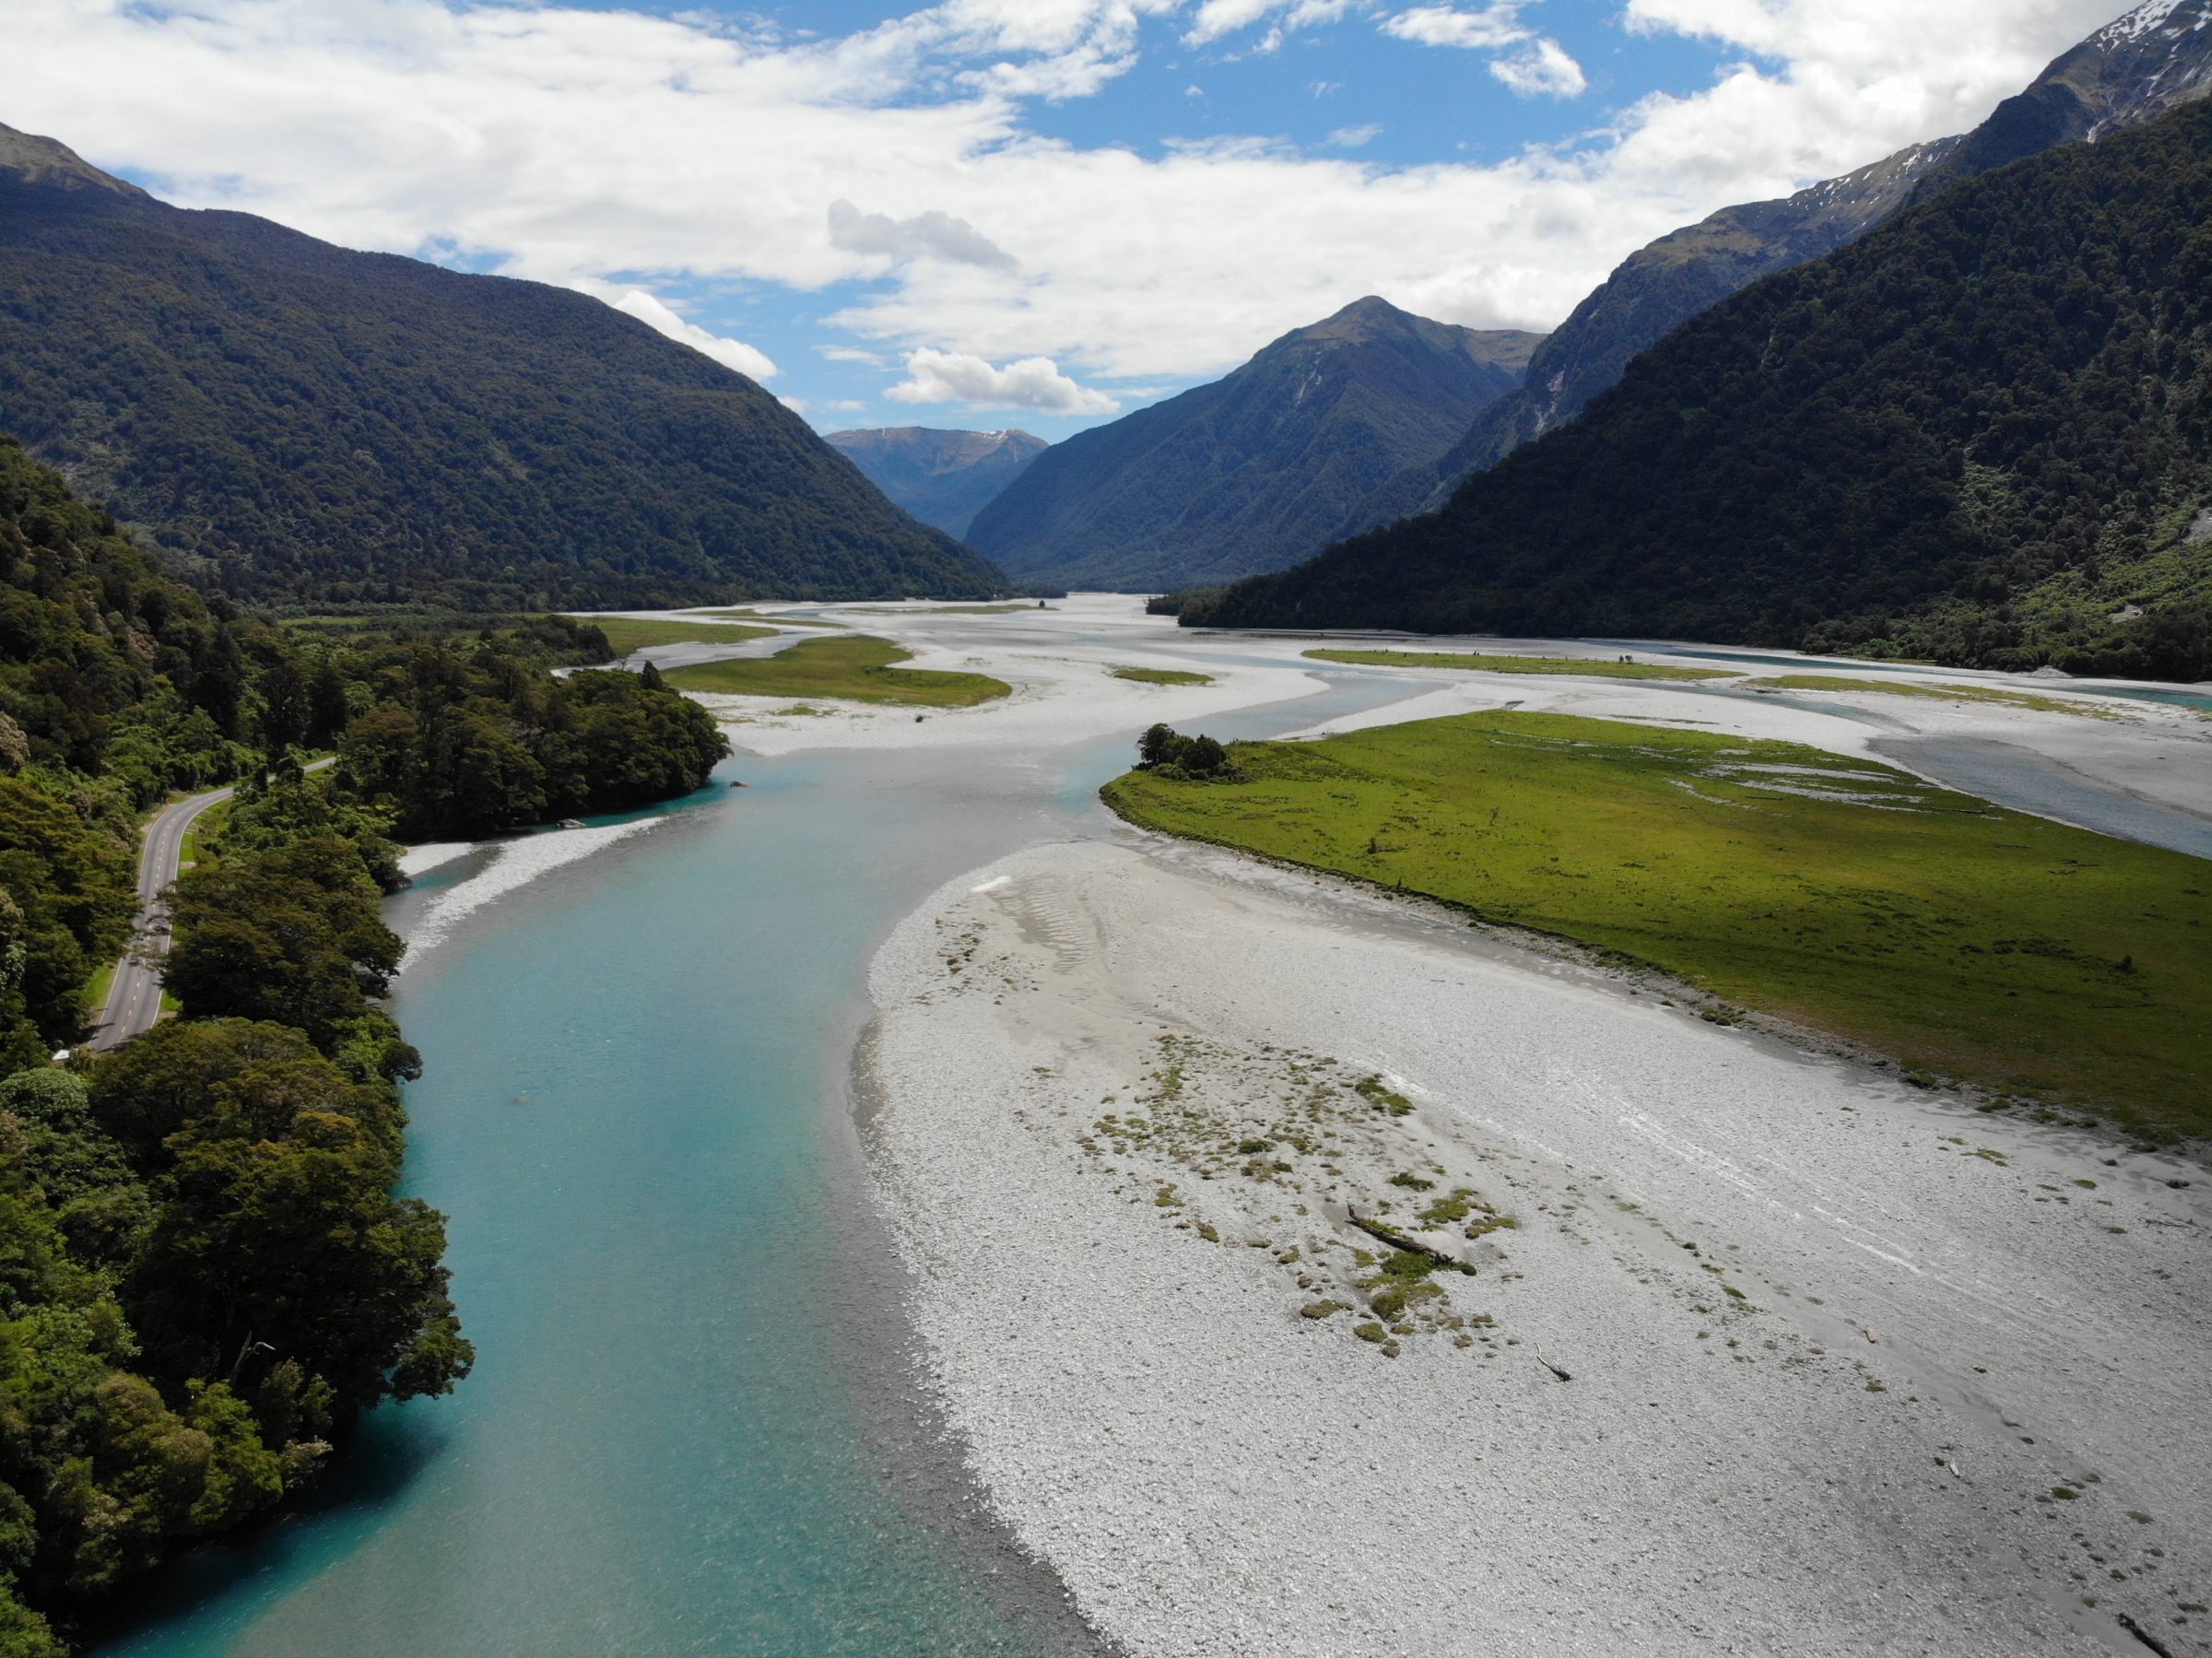
With the drone camera pointing down, you can capture beautiful patterns and textures of landscapes, roads, buildings. We have already captured various patterns with our drone, such as rice fields in the Philippines and meandering bright blue rivers New Zealand. You can do something in anything, so let your creativity run wild.
Don't fly too high
An important tip when shooting with a drone is not to fly too high. While it can be tempting to fly as high as possible for a broad overview, it often comes at the expense of detail. Although it can be beautiful with an island in the middle of the ocean, high mountains or a city view.
–> Would you like more information and tips about drones and photography? Download us free E-book Drone photography.